How to Use a Drawing Tablet Effectively?
Illustrators, graphic designers, photographers, and artists who need to create artwork as efficiently as possible will benefit tremendously from working with a drawing tablet.
While buying a drawing tablet is the first step in a journey towards a more productive creative environment, truly knowing how to use the features of your device is what will allow you to draw accurately and fast.
Nearly every single drawing tablet in the market works quite well right out of the box. Simply connecting the device straight to the computer is usually enough to get the main features going, meaning pen tracking and default pressure sensitivity levels.
That said, you should keep in mind that drawing tablets are tools and, as such, they can be tailored to fit your specific needs and preferences.
Make sure to follow the tips below to make the most out of your drawing tablet and to express your creativity effectively.
Install the Right Driver
There are the three main reasons why you should install the correct driver and configure your drawing tablet before using it.
1) Higher Precision: a well calibrated drawing tablet will ensure that the pressure sensitivity of the stylus is aligned with the artist’s specific needs.
Some people have a stronger grip and should dial the pressure sensitivity down, while others hold their stylus more gently and would benefit from higher pressure sensitivity.
Finding what works best for you will allow you to draw faster because the stylus will act exactly how you expect.
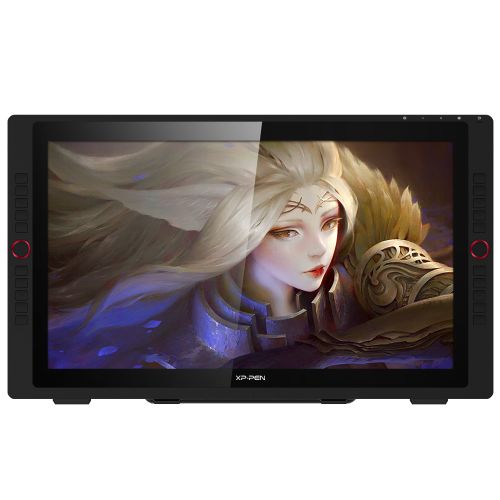
2) New Features: years ago, most drawing tablets were nearly identical. Nowadays, each device has its own set of exclusive features. Some have express keys; some others have a dial that allows the user to zoom in and out almost instantaneously.
Some of these features can only be accessed if you install the right driver for your drawing tablet.
Therefore, you should always download and install your tablet’s driver, even if the device seems to work just fine without it.
3) Compatibility: most operating systems, like Windows 10, come with standard drivers for drawing tablets. These are generic drivers that only guarantee the most basic features of the device.
These drivers tend to cause problems sooner or later. They increase the likelihood that any given software, like Adobe Photoshop, will randomly stop recognizing the drawing tablet for no apparent reason. This usually requires the user to restart the computer and, consequently, waste precious time.
Again, this issue can easily be solved by installing the right driver for your specific drawing tablet.
Adjust the Stylus Settings

Once the driver is properly installed, you will immediately gain access to the drawing tablet’s configuration application. This is where you will be able to set your preferences, such as:
Setting pressure sensitivity levels.
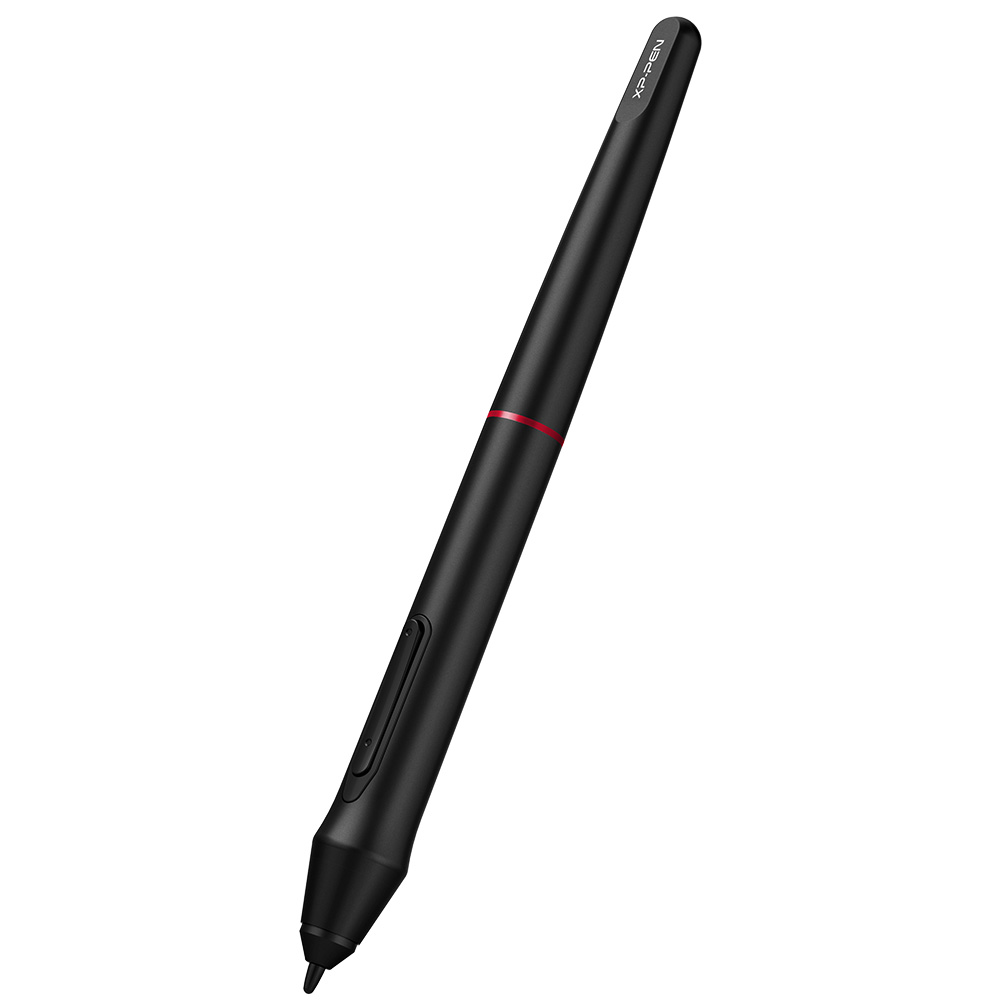
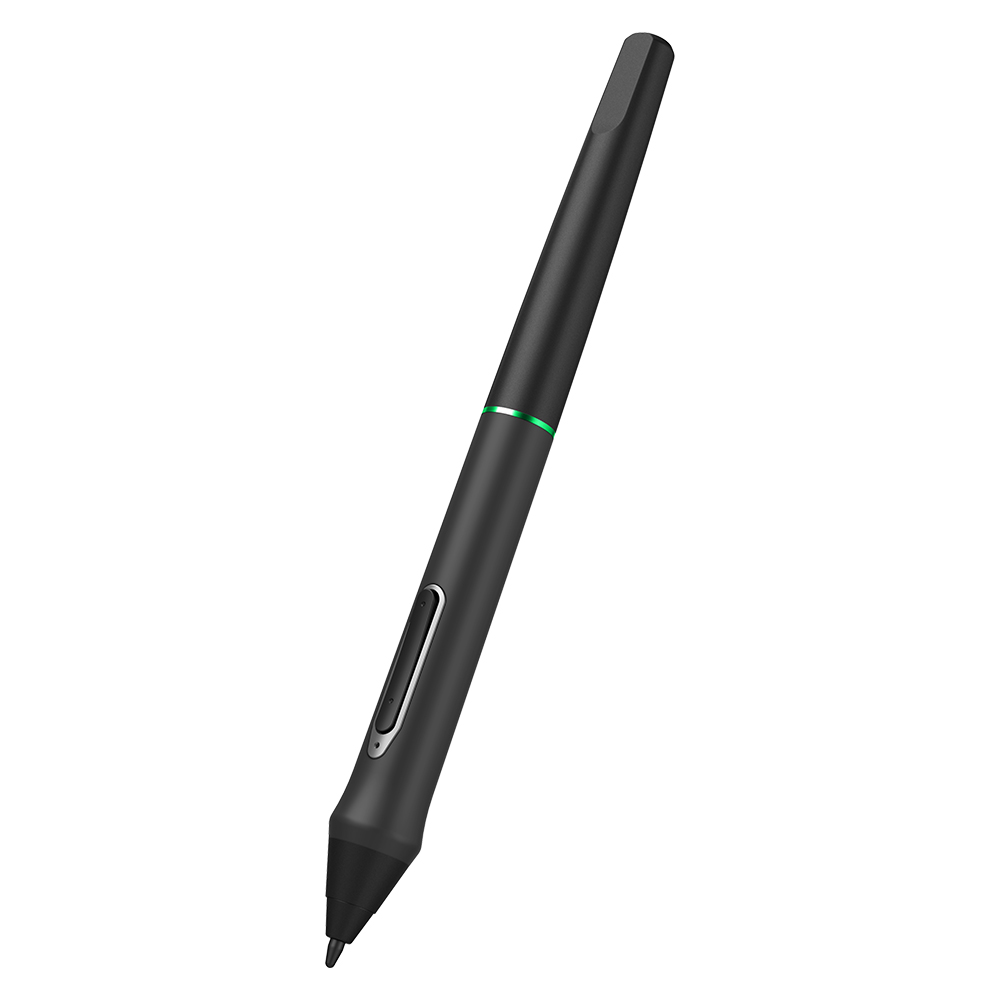
Configuring the digital pen’s buttons.
Defining what each express key does.
Mapping the active drawing area to the monitor.
The level of customization will depend on each specific drawing tablet.
Here is a tip: if your drawing tablet has express keys, take some time to configure them properly. Express keys are one of the easiest ways to increase drawing speed.
Actions like save, save as, undo and redo are repeated hundreds of times during a drawing session. Assigning each one of these tasks to an express key will save you time.
Discover the Perfect Pressure Sensitivity Level
Pressure sensitivity is the most important aspect of the digital drawing experience. This is the feature that allows artists to emulate the feeling of drawing with a real pencil.
Most artists will simply accept the tablet’s default pressure sensitivity level and adapt to it. While it may sound reasonable, you should try to avoid this because it will lead to subtle artwork inconsistencies when the need to switch to a different device arises.
Even if you want to become an artist who is capable of drawing seamlessly regardless of your drawing tablet’s stylus or brand, you should at least know how to adjust pressure sensitivity levels in case one day you come across a device that does not work how you expect.

One more tip: drawing for fun allows you to spend time adapting to a different stylus, it allows you to make mistakes and start over as many times as you want. However, drawing professionally usually comes with time constraints and if this is the case, it is utterly important that you know how to configure pressure sensitivity levels properly.
Master the Active Drawing Area
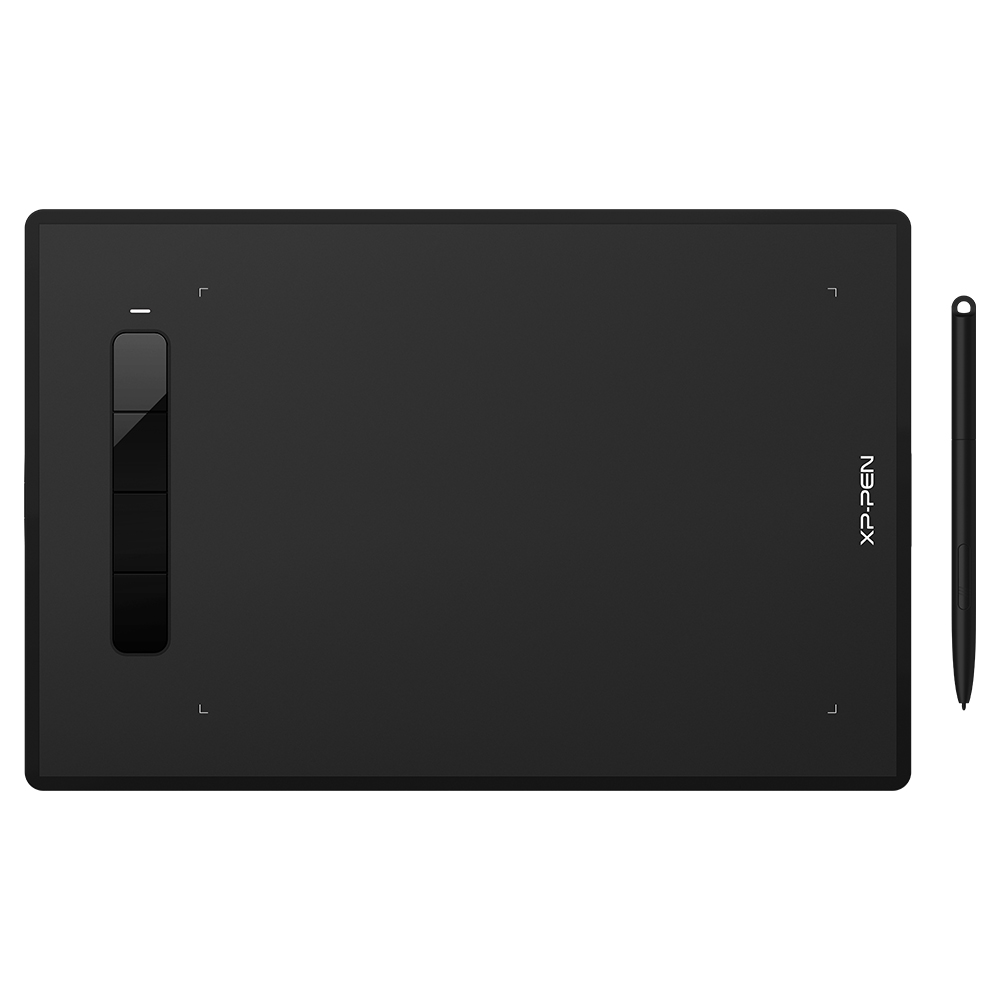
Each drawing tablet has its own active drawing area, which is the surface where the stylus acts, meaning the pen movement is tracked and the contact between the stylus and the drawing area produces a line on the screen.
Some people think that the entire surface of a drawing tablet can be used for drawing, but this is not true. Most devices have an area dedicated to express keys, a dial or simply a margin where the stylus is not tracked.
That said, it is important that you master the ability to draw within the space allowed by your device.
How does the active drawing area affect artwork quality?
Well, the smaller the drawing area, the harder it is to draw comfortably.
Large drawing areas allow the artist to move more freely, create long lines and, most importantly, draw continuously.
Think about it, if your drawing tablet is too small, you will have to stop drawing from time to time to adjust the zoom before continuing. While this may sound like a tiny issue at first, any given drawing session on a small tablet may require hundreds if not thousands of zoom adjustments.
This is why I recommend getting a drawing tablet that comes with a medium to large active drawing area. Small ones can be fine too but try to stay away from those tablets that were not meant for drawing, like the ones solely use for signatures.
Regardless of which drawing tablet you own, make sure to do exercises to master the ability to draw within that given area. It is a good idea to practice drawing circles, straight lines, parallel lines, curved lines and to on.

Play around with the pressure sensitivity settings and try different brushes as well since all of this will have a certain effect on the artwork you produce.
Position your Drawing Tablet Correctly
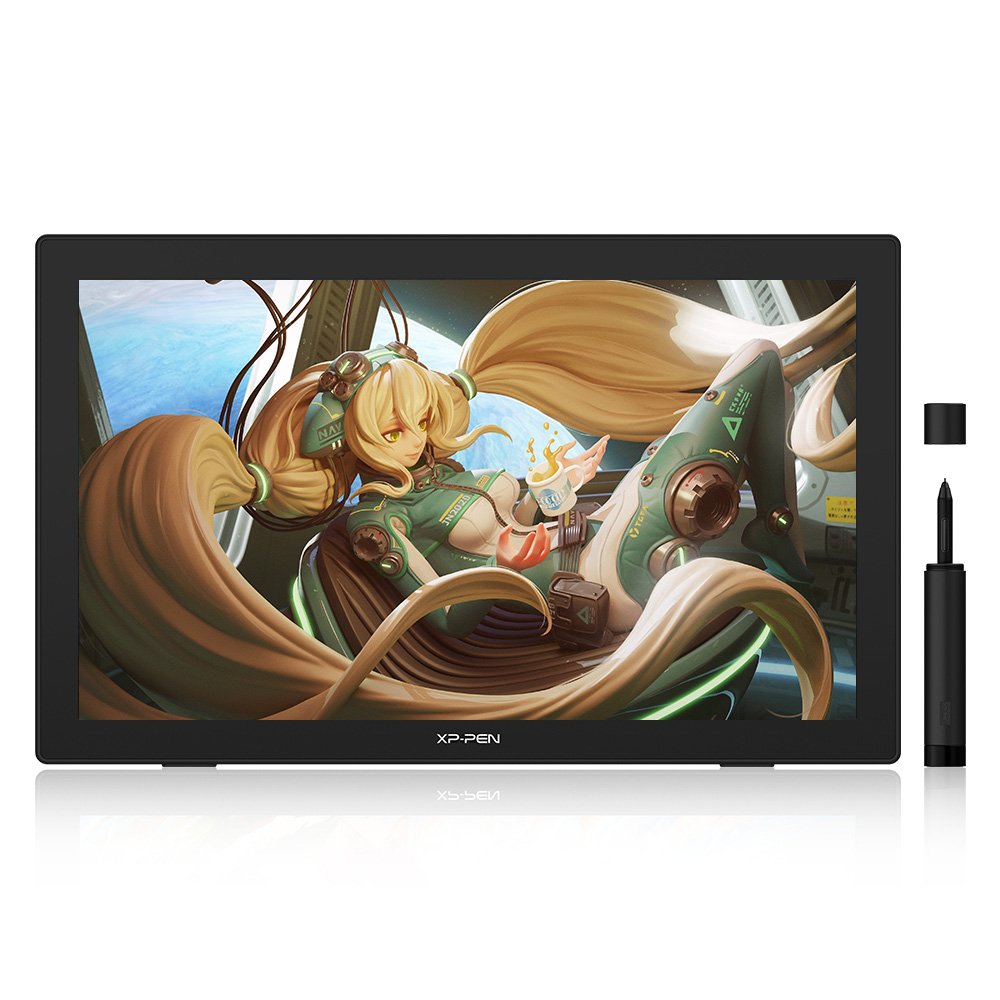
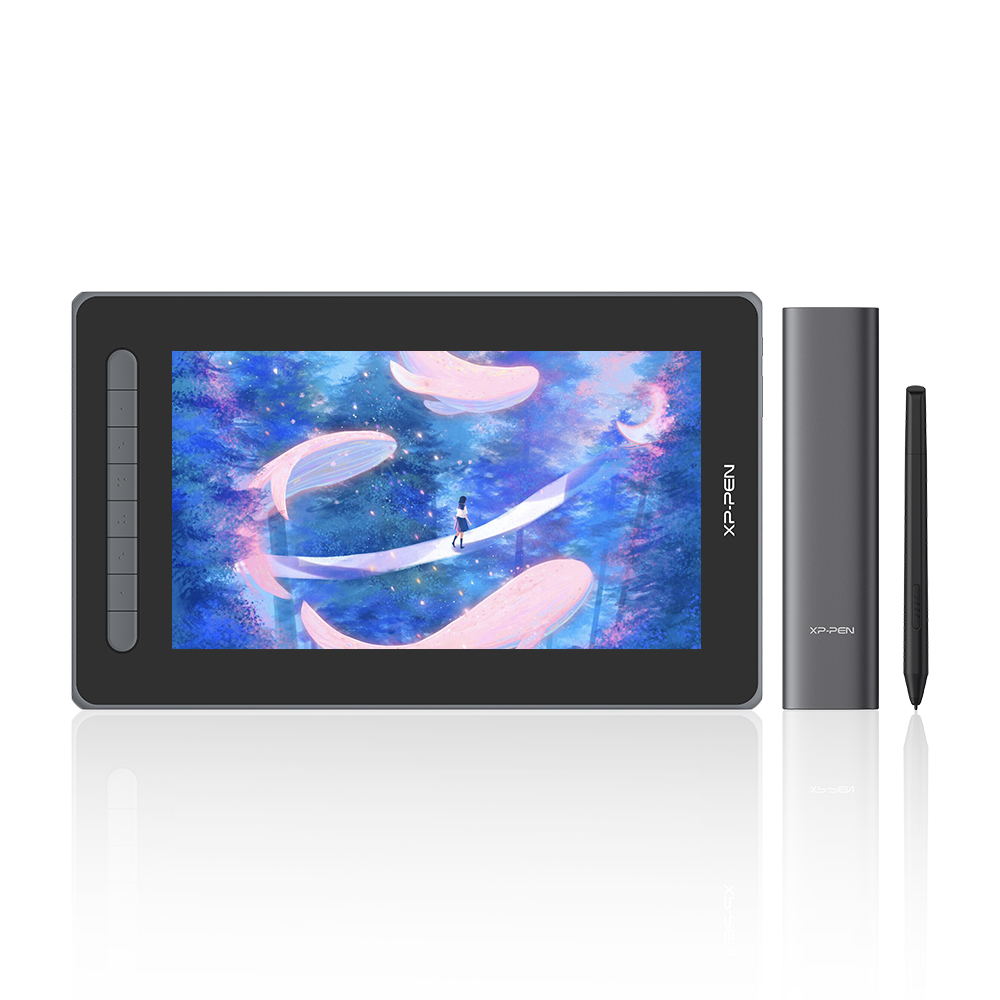
In case you have a drawing tablet that has its own screen, like an artist display/ pen display or even a standalone drawing tablet, the position of the tablet itself doesn’t matter so much because you will be drawing directly on the screen.
Check the picture below to see an example:

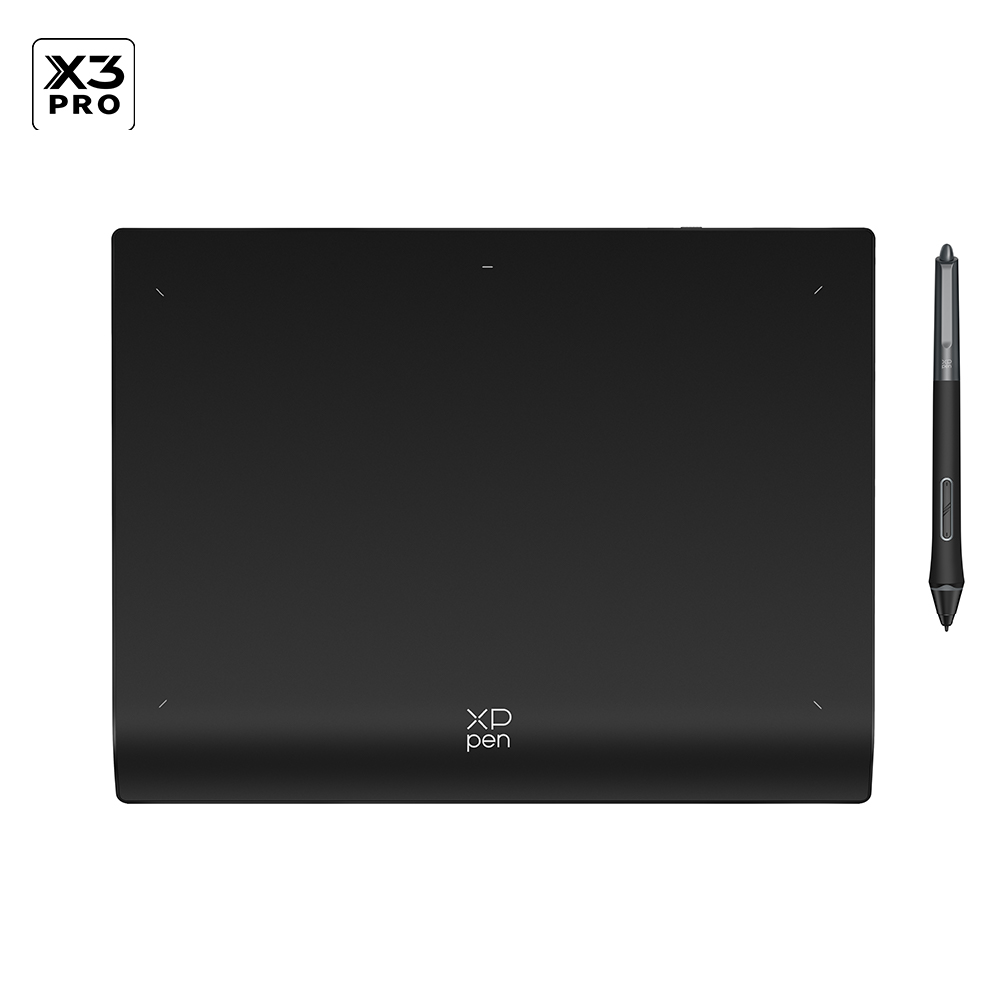
However, if you are using a regular drawing tablet that does not have a screen, it makes more sense to keep it aligned with your monitor.
This way your brain will have an easier time adjusting to the fact that the lines drawn on the tablet appear somewhere else, in this case the monitor.
Once you get completely comfortable with this new way of drawing, it’s OK to tilt the tablet or rotate it however it makes you feel more comfortable.
Check the image below to see how the drawing tablet should be positioned:

Express Keys
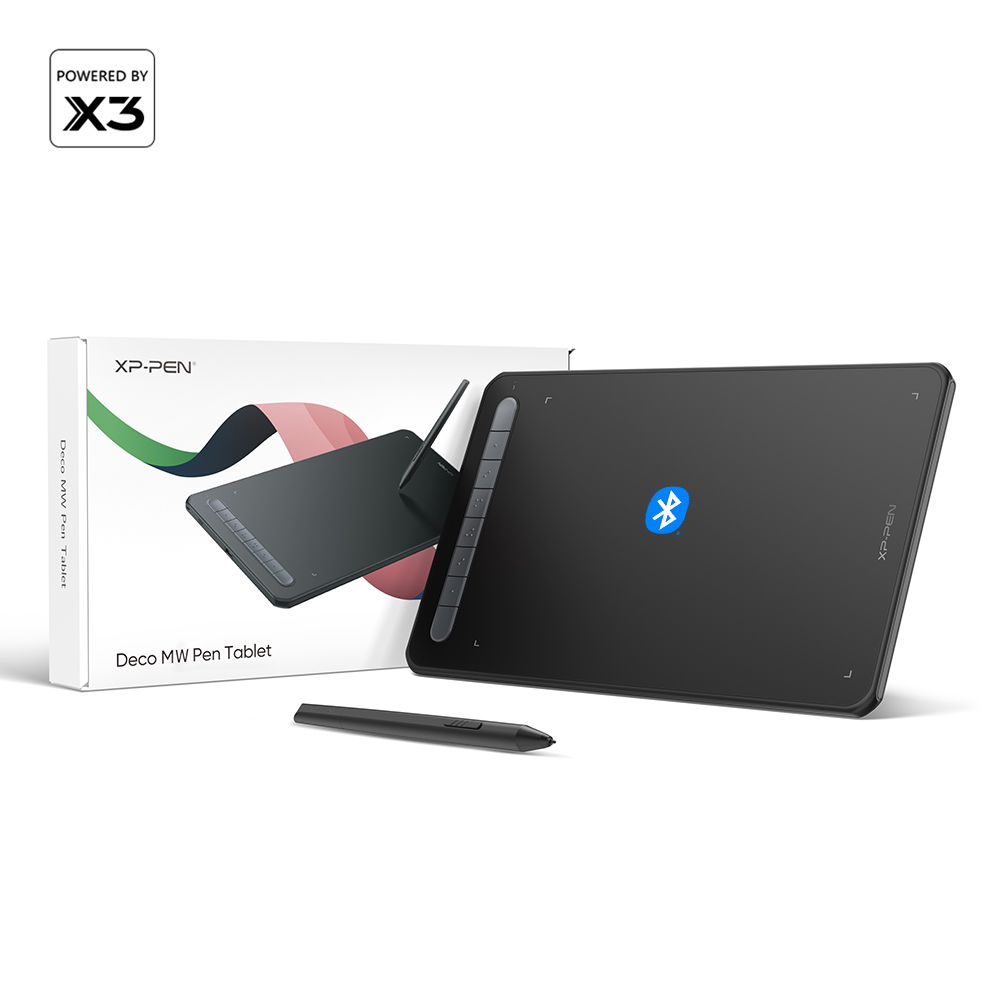
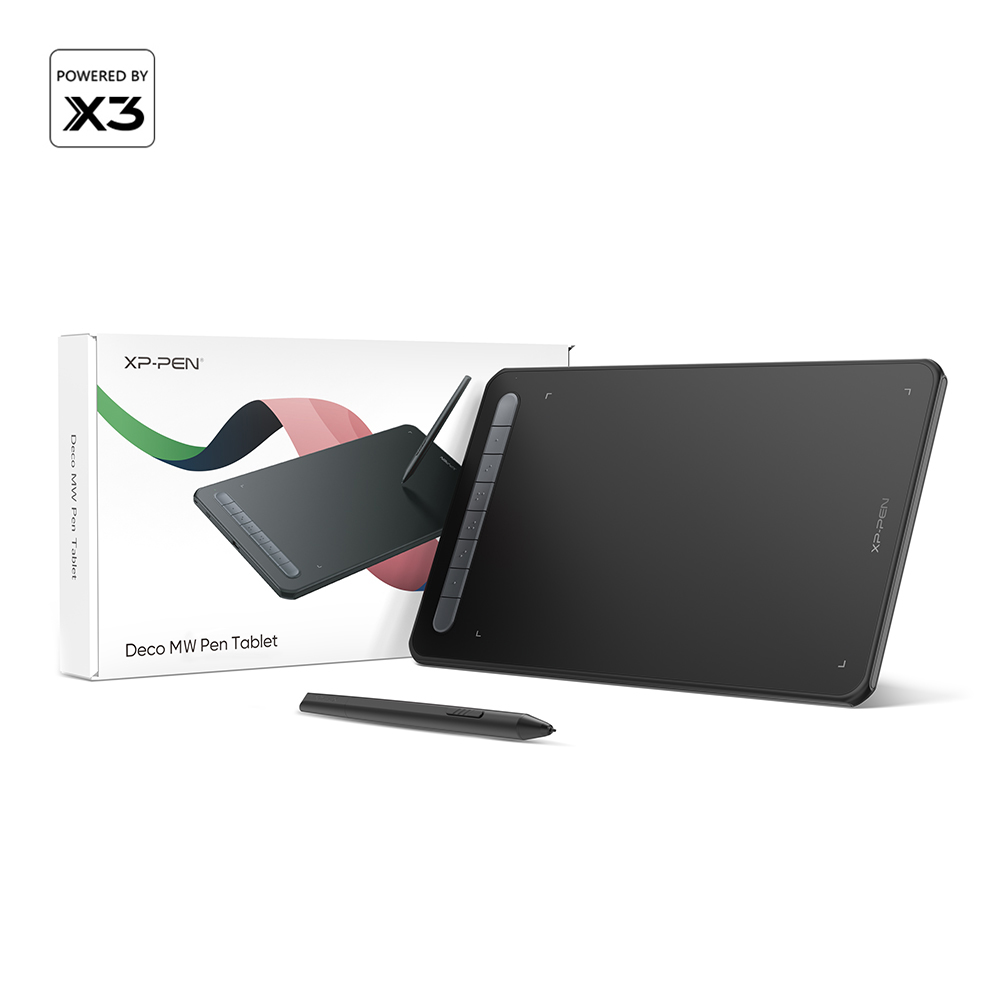
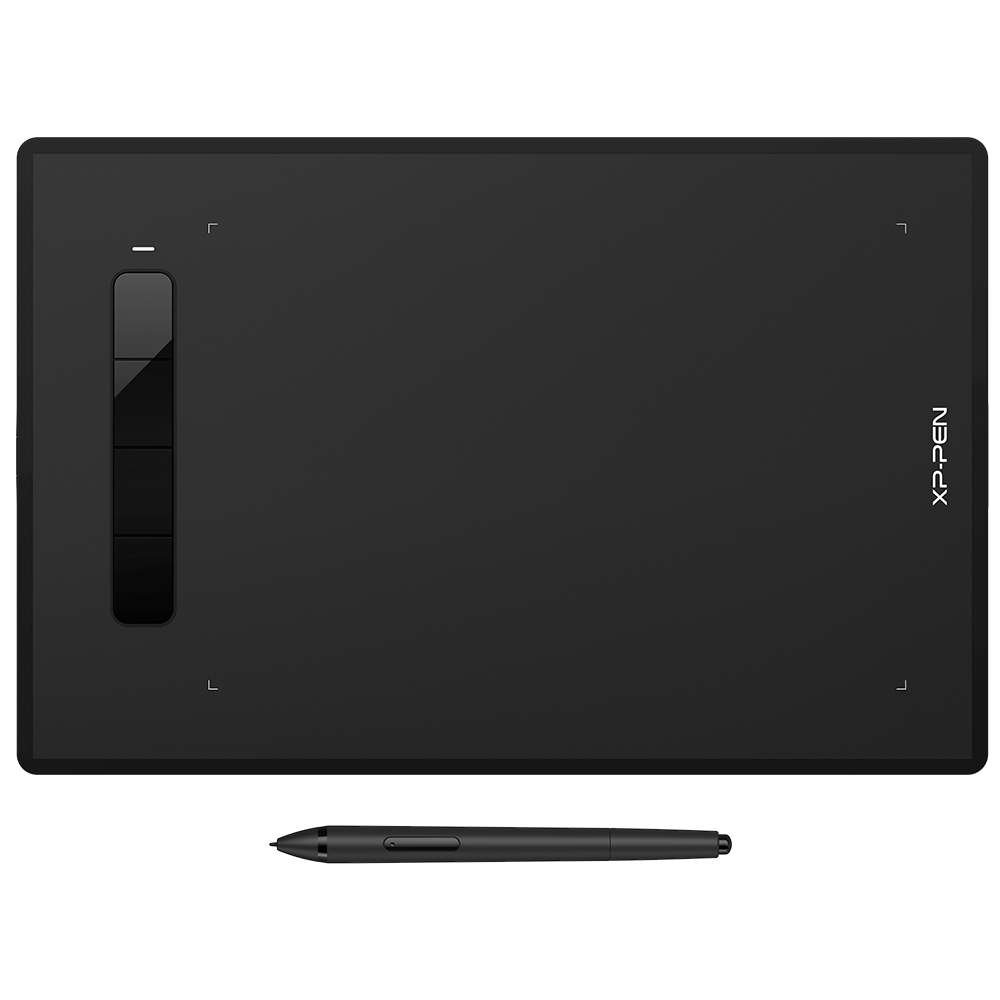
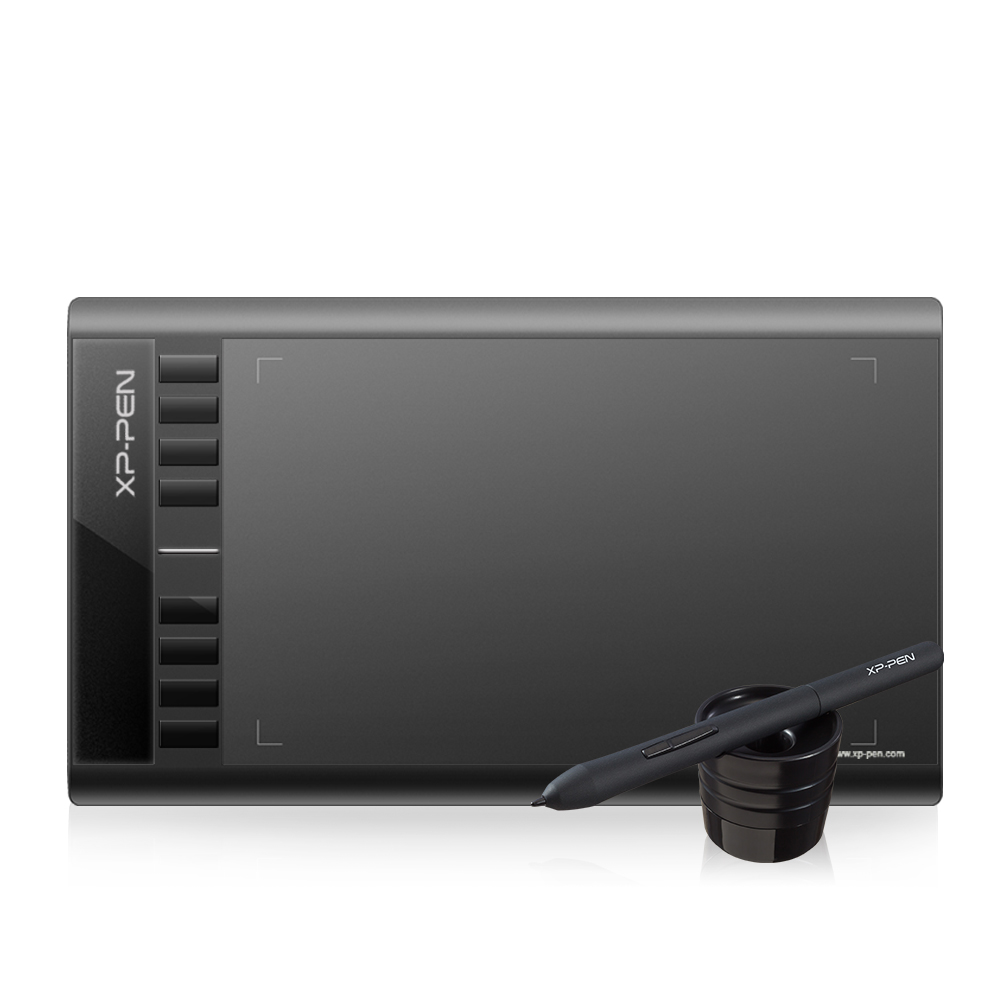
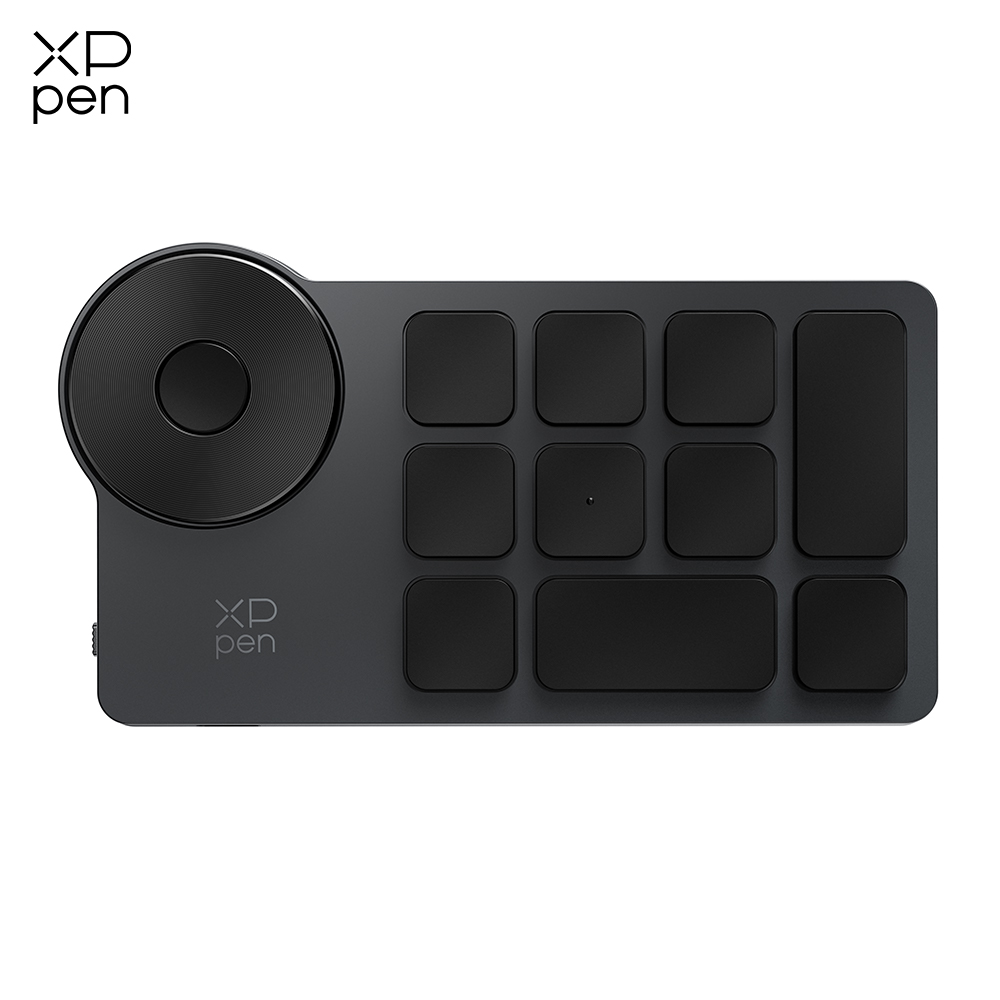
Nowadays, almost all tablets have express keys. Sometimes they are actual buttons that can be pressed with a finger (as pictured below) while other times they are specific areas of the tablet (located on the borders) that perform a custom action when touched by the stylus.

As previously mentioned, express keys allow artists to perform repetitive tasks much faster. Once they are properly configured, in less than a second, it’s possible do save files, redo a line or undo any other action.
These are just examples; you can assign any task you wish to those keys. They are incredible productivity tools and should be used by every artist.
There is no good reason not to use express keys, but some people still go on about their business without ever touching them. This usually happens because of procrastination.
Some artists simply leave topics related to settings for the “next day”, but never actually get to it.
Not using express keys is a mistake and can cost days of productivity on the long run. That is why I highly encourage you to go ahead and make full use of your drawing tablet’s express keys.
Hand Positioning
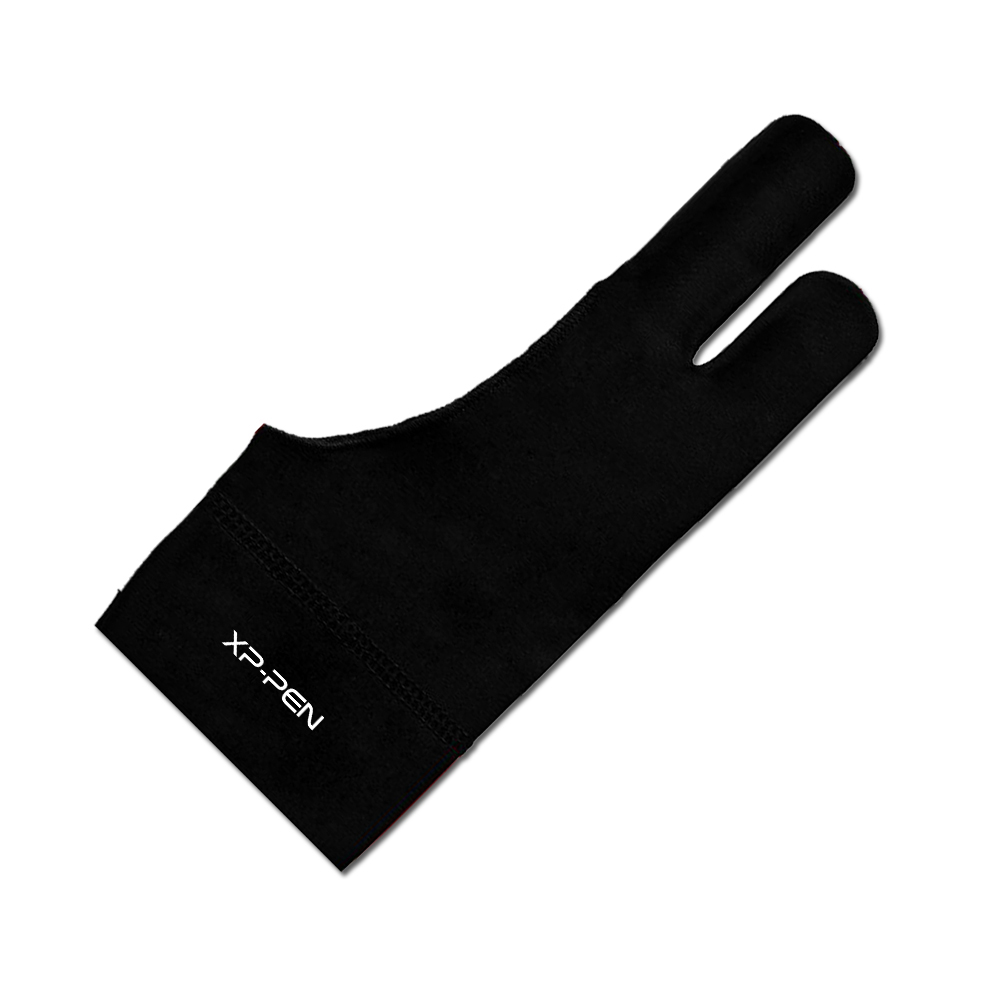
Almost all drawing tablets come with a drawing glove, and there is a good reason for this.
The constant contact between hand and drawing tablet eventually leads to a sweaty drawing board and, consequently, increased friction.
Too much friction makes the movement from one side of the drawing area to the other much harder, and this negatively affects the artist’s productivity.

Wearing a drawing glove for the first time feels a little weird, but it does not take long before you are completely used to it.
Here is a tip: get used to drawing with a glove from the very beginning, this way you will develop a nimbler drawing style and will finish your projects much faster.
Conclusion
When it comes to art, there are no rules, however there are best practices.
You do not have to follow every single tip in this article to become an efficient digital artist, but they will certainly help you along the way.
Make sure to spend some time tweaking your drawing tablet’s settings to get the most out of your device. Pay special attention the pressure sensitivity levels and the express keys configuration. Together, these two will have the greatest impact in the way you work.
Remember, dealing with settings is something you only need to do once, but will benefit you tremendously for a long time.


