How to Make a XP-Pen Mascot GIF in Photoshop
OTHERSI know you guys love to make memes. Who doesn't? After all, it's super simple and incredibly fast. The only thing you need is a picture of a celebrity or anything else you want and add some sarcastic comments. Then presto! You're done!
But when it comes to making a GIF, that gets a little more complicated.
GIFs usually have at least one character, and that character has a series of movements, such as laughing or crying. It's essentially a very short animation. So when making a GIF, we can use some common 2D animation practices for reference, such as key frame, breakdown, or in-between.
"A breakdown is a drawing/pose that connects your poses."
- Toniko Pantoja, PWOW Workshop - Introduction to Animation Breakdowns
Today we're going to implement these practices to make a little fox GIF in Photoshop.
Step 1: Find some references.
This GIF is going to be focused on our mascot, Fenix, who will be blowing a kiss. And do to that, we first need to find some photo references.


Step 2: Create the file.
Next, open Photoshop and create a 2,000x2,000px. canvas. Then click the Window > Timeline. Since our GIF is based on layers/frames, choose the Create Frame Animation.

Step 3: Set keyframes.
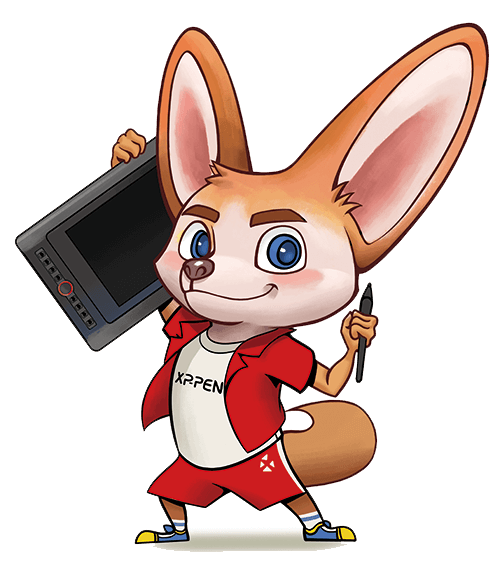
Here's our lovely mascot, Fenix. He's a fennec fox who lives in the desert, with ears much larger than those of other foxes.

Based on the references, we're going to set two keyframes (the initial pose and the final pose) as well as one breakdown (the kissing pose). Remember, each pose should be on a separate layer.

Step 4: Insert in-betweens.
Usually, one second of 2D animation will contain at least 24 frames, but Photoshop only allows us to put in ten frames at most in one second, so don't bother drawing too many in-betweens. When Fenix blows a kiss, he will first need to raise his hands one after the other or in the meantime; I'll leave that up to you. But here, we will make him raise the left hand first and then the right hand.
Also, at the same time, he will close his eyes when his hands touch his mouth. So the in-betweens will include a left hand up with a closed left eye and a right hand up with a closed right eye.

In order to make Fenix more vivid, his tail, ears, and hair should be changed a little bit as well.
After Fenix put both hands on his mouth, there's going to be a heart-shaped kiss that comes from his mouth. As the heart grows larger and larger, his hands will be gradually put down and change back to the initial pose.

Step 5: Set time per frame.
Set each frame for 0.1 seconds with the exception of the breakdown and the last keyframe. The breakdown shows that Fenix tries hard to blow a kiss, so you need to give him a little bit more time (about 0.3s) to prepare. Since the sticker will loop forever (select looping options to make loop forever), if you set the last keyframe to 0.1s, it's going to make people feel as though there is no interval between this frame and the first one. So 0.3s or longer is best for the last frame.

Step 6: Save and export sticker.
After refining the lines and adding color and details, the sticker is almost done. Save it for online use by clicking File > Export > Save for Web (Legacy)...

Next, choose the file type to save the GIF as shown under the Preset dropdown. Since our Fenix GIF only has solid colors, we'd better opt for “no dither”. If your GIF has gradients, choose the dithered file type in order to prevent color banding.
The number next to the GIF file determines how precise the GIF colors will be compared to the original JPEGs or PNGs. The higher the number, the more colors and detail there will be – but keep in mind that this will increase file size.

Change the Image Size to 240x240px., then click Save at the bottom. Now our little Fenix GIF is ready to use!
About Us
Originated from 2005, XPPen is now one of the top brands under HANVON UGEE, integrated with digital drawing products, content and service as a globally notable digital brand of digital art innovation.
Learn more


