How to Draw a Wolf: Step-by-Step Guide for Beginners
ANIMALSIn the art world, wolves are frequently shown as majestic and beautiful animals recognized by their piercing, hunter eyes, pointy ears, thick fur, and long bushy tails. The earliest depictions of wolves are found in cave paintings from about 6000 BC. Wolves have been a part of human civilization and spirituality for many years. Some religions even revere wolves as gods and many tales have been told about wolves as both good and bad. On one hand, wolves are seen as disorder, chaos, and devastation. On the other hand, these majestic creatures symbolize courage, protection, loyalty, and wisdom.
Do you want to learn how to draw a wolf step-by-step? Don't worry, we've got you covered!
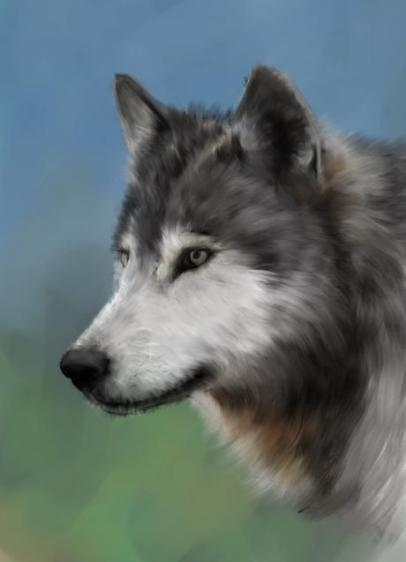
In this quick tutorial, we will teach you how to draw a realistic wolf. If you're a beginner just starting out, this easy tutorial got you! You'll learn how to plan the structure of a pose, how to add the body, how to depict its hair color, how to add the drawing background, and how to handle details like hair and eye color.
Tools recommended for wolf drawing
A drawing tablet: Using the best drawing tablets will allow you to easily create amazing digital artwork. XPPen tablets give you the most comfortable drawing experience.
A stylus: The XPPen tablets are equipped with a stylus for comfort and accuracy.
Drawing software: Having the best drawing tablet will not be enough to allow you to express your creative side. You'd also need the best and the appropriate drawing tablet software, or choose the one you're most familiar with. Adobe Photoshop, Autodesk Sketchbook, Krita, Pixaki, Procreate, and other tools are recommended.
Learn about wolf painting in advance through reference photos
How to draw a wolf easily? For wolf drawings, you should check out some reference images of wolves before you begin drawing them to get a sense of their features and dimensions. With less fat, wild animals usually have a more intuitive, angular appearance. When you draw a wolf, emphasize these angles. You might practice sketching the basic outlines of some of your reference photographs to have a better concept of what the lines of a wolf should look like, which would make wolf drawing easy later.
To make wolf drawing easier, we suggest you look at pictures of wolves in different positions and from different angles. This can include standing, running, and sitting. Once you have a general understanding of a wolf's structure and movement, you may concentrate on its facial traits. More details can be added to the wolf face drawing after you establish the vital details on the drawing.
How to draw a wolf step by step?
Step 1: Sketch a simple geometric structure
For the wolf head drawing, we should first draw a simple geometric framework. In the wolf sketch, the nose can also be used as a cone or cup.
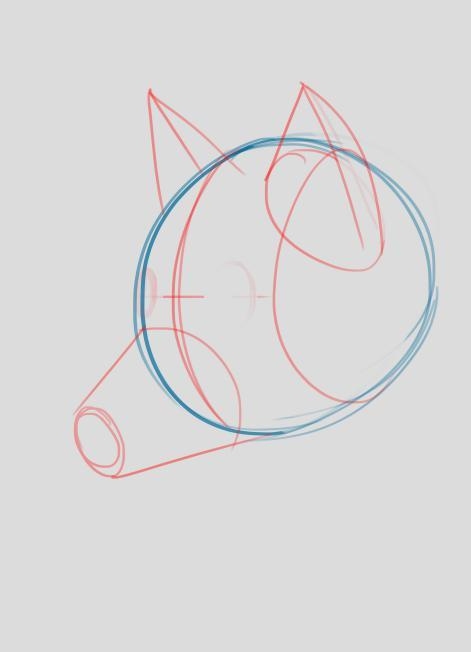
We will gradually sketch more details after we have a general structure. They are the ear, eye, and mouth positions.
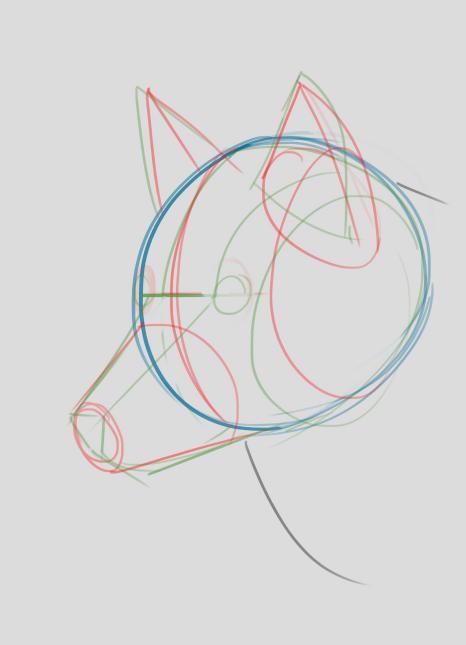
After we sketched the overall framework, we began drawing more specific lines to make painting easier.
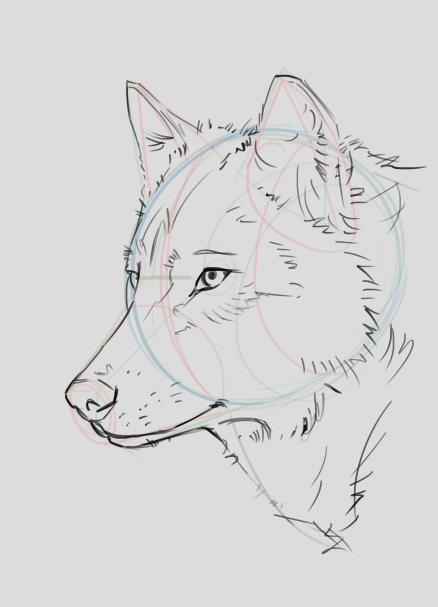
Step 2: Create a new layer
The sketch now has crisp lines. We can create a new layer below it. Paint it a neutral color for easy adjustment of brightness or darkness.
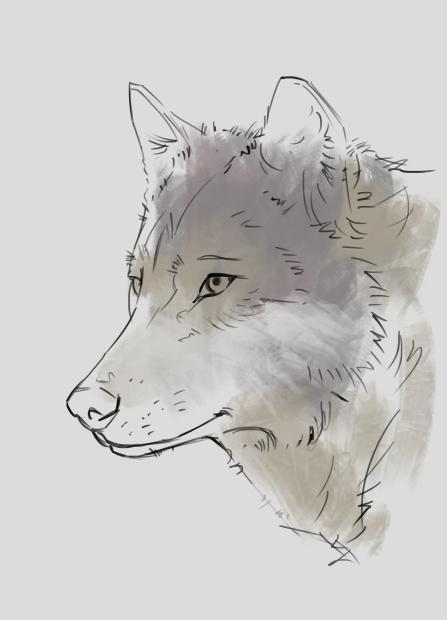
Step 3: Insert the color of the fur
Following rough painting and shading, we progressively introduced the fur color.
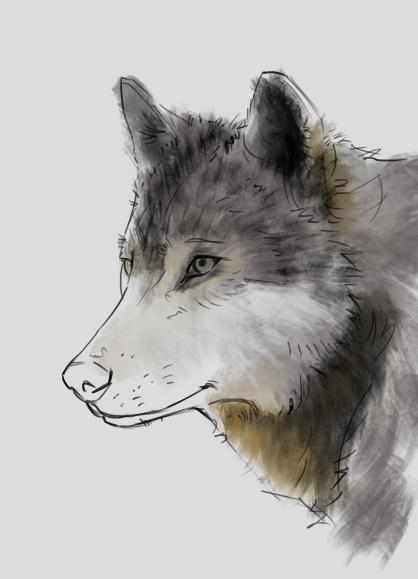
When it comes to the direction of the fur, this step is critical.
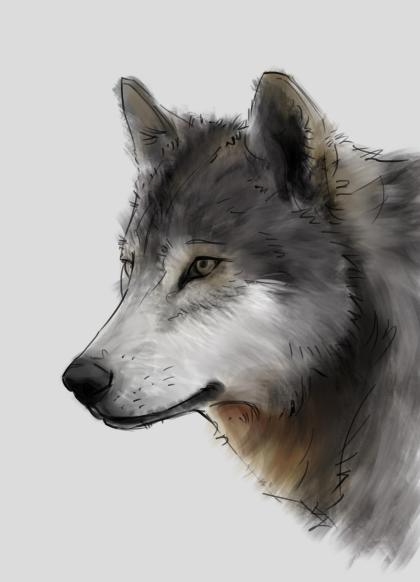
Step 4: Create a background image
To add more depth to the drawing, you can also add a background image to enhance the image of the wolf. For the purpose of this tutorial, I will be adding a sky and a field background. It is advised to use either a soft-round brush or a regular round brush. This is because we will need to blur it later. We need to establish a separation between the subject, the wolf, and the background. So we don't need to preserve many details in this section.
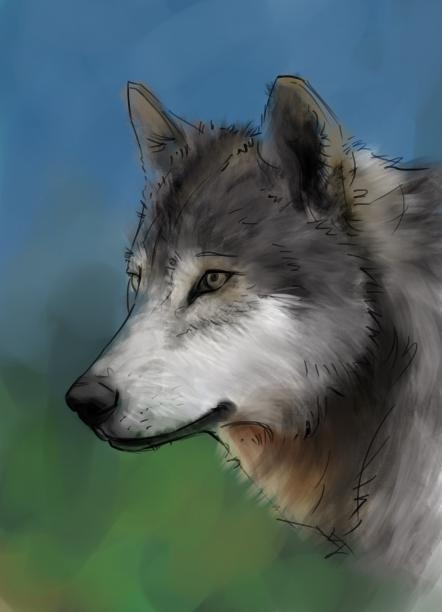
Step 5: Detail processing
We can create a new layer for the process of details. Then, we can put the new layer on top. Finally, we can paint over our line layer to make the image look more realistic.
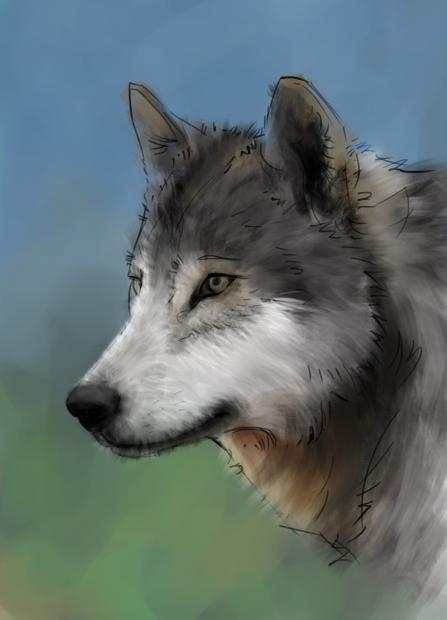
Step 6: Add the hair
Adding hair is a highlight or light spot in drawing the wolf, improving the balance of the overall composition. It is up to you to decide which side the light should shine from in this section.
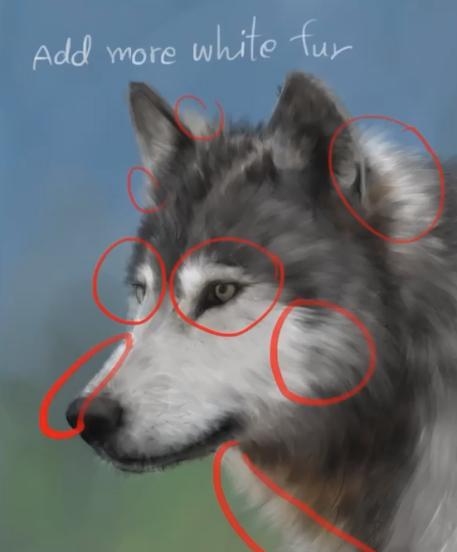
Step 7:Perfect the details
The final step is to capture details such as eye color, fur texture, and areas exposed to light. This procedure may take longer or shorter, depending on how much detail we want to include. We advise using a small, round, firm brush to maintain the fur's features at key locations. My method entails creating a new layer, selecting overlay mode, and applying a light color to it. By doing so, the image will appear brighter and brighter, and more realistic.
Excellent XPPen drawing tablets for wolf drawings
Every artist's workflow has been made easier by drawing tablets and drawing displays, and this trend will continue. Drawing tablets and displays have improved the creative process. As they become more sophisticated, artists can discover new ways to use their talent and be innovative. This will help them reach their full potential. Get your XPPen drawing tablet to start drawing a lifelike wolf today!
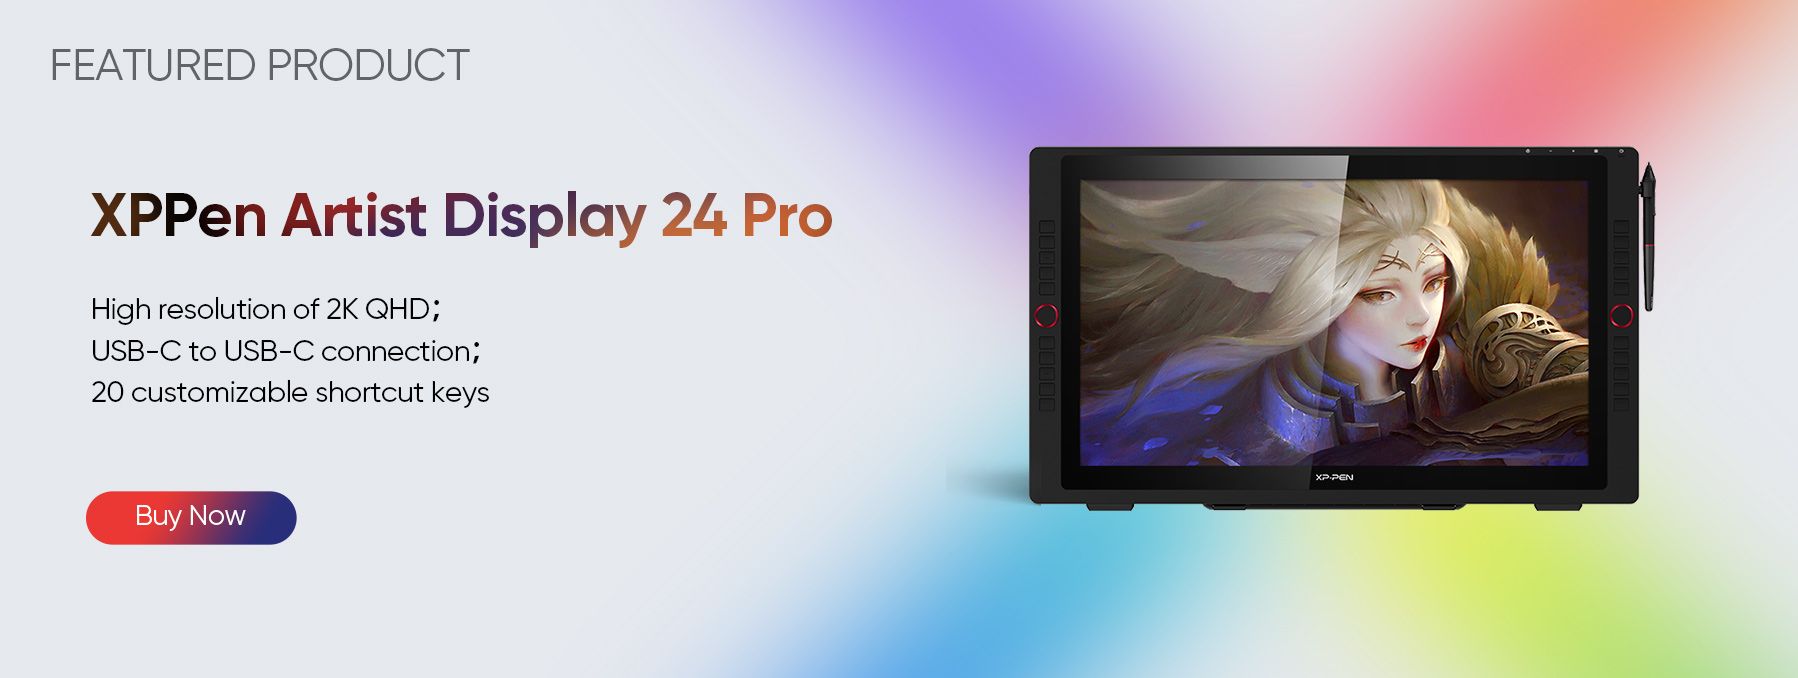
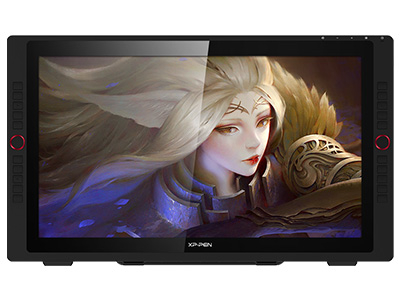
1. Artist Display 24 Pro ($674.99)
The XPPen Artist Display 24 Pro is a top choice for artists of all skill levels, offering high-resolution 2K QHD display for vibrant and realistic images. It supports USB-C to USB-C connection for easy connectivity. With user-friendly features like red dial wheels, 20 configurable shortcut keys, and touch-sensitive keys, it ensures smooth operation for both left and right-handed users. The PA2 Battery-Free Stylus with tilt support allows for superior line performance. Thanks to cutting-edge innovation, the tablet provides a great user experience with precise cursor positioning, even in the corners, enhancing the overall drawing experience.
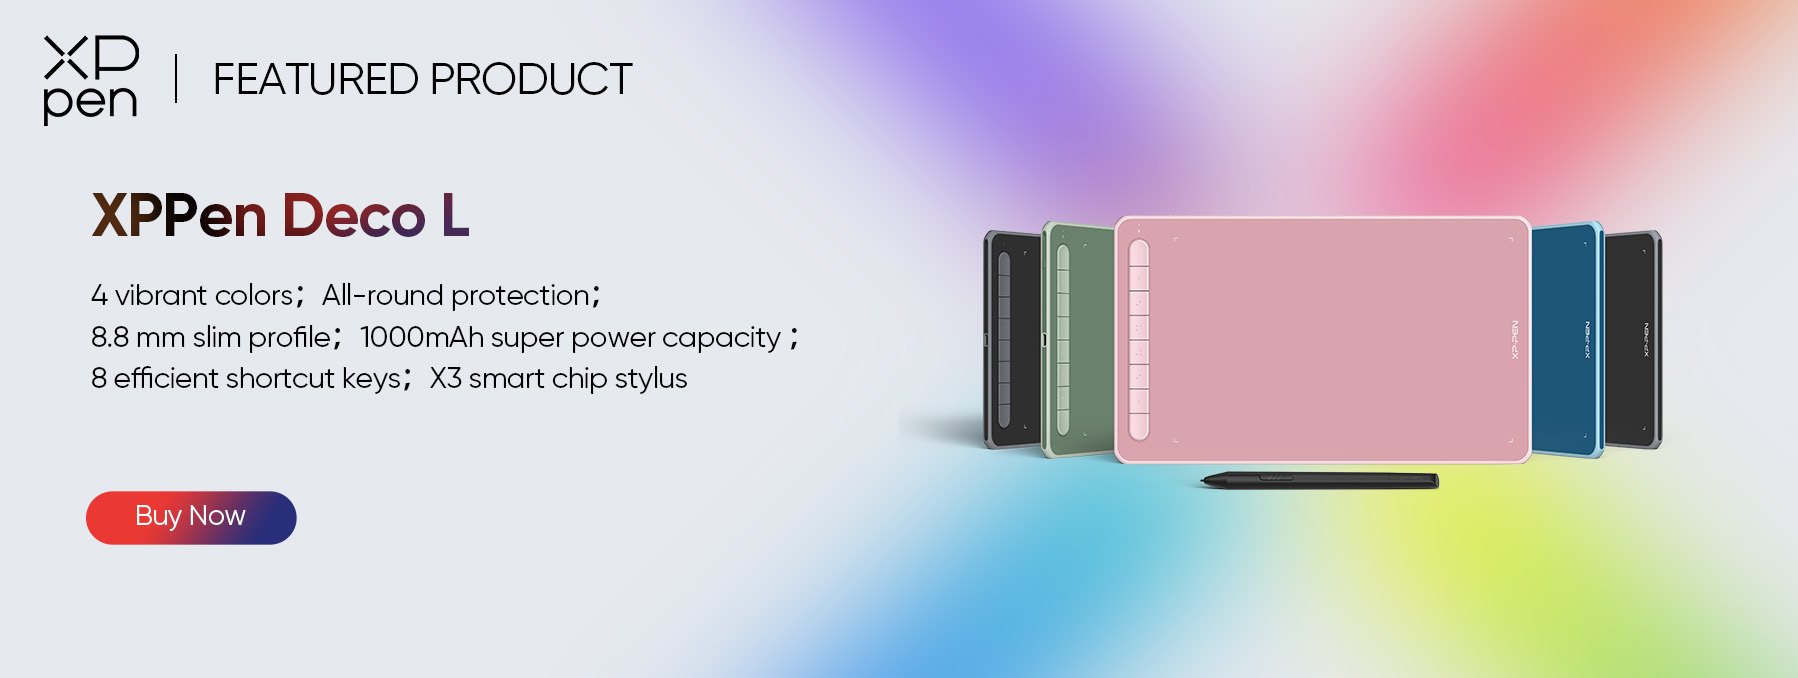
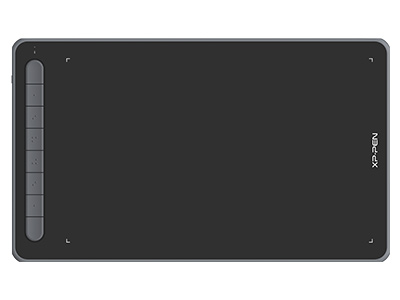
2. Deco L ($69.99)
The XPPen Deco L drawing tablet is the most cost-effective option for artists and designers. It offers all-round protection with a wear-resistant and shockproof design. The tablet's large-capacity lithium battery provides over 10 hours of endurance, ensuring uninterrupted creativity. It boasts excellent compatibility with major art software like Photoshop, SAI, GIMP, and more. The X3 chip stylus delivers a genuine pen-and-paper feel, empowering artists to unleash their creativity. A perfect blend of technology and imagination for bringing dreams to life!
Related Posts
About Us
Originated from 2005, XPPen is now one of the top brands under HANVON UGEE, integrated with digital drawing products, content and service as a globally notable digital brand of digital art innovation.
Learn moreRecommended Articles
ANIMALS How to Draw a Cute Dog Step by Step (Cartoon & Realistic Styles) PLANTS Drawing a Realistic Rose: Step-by-Step Video Guide OTHERS Easy Drawing Ideas for Beginners: 8 Step-by-Step Tutorials