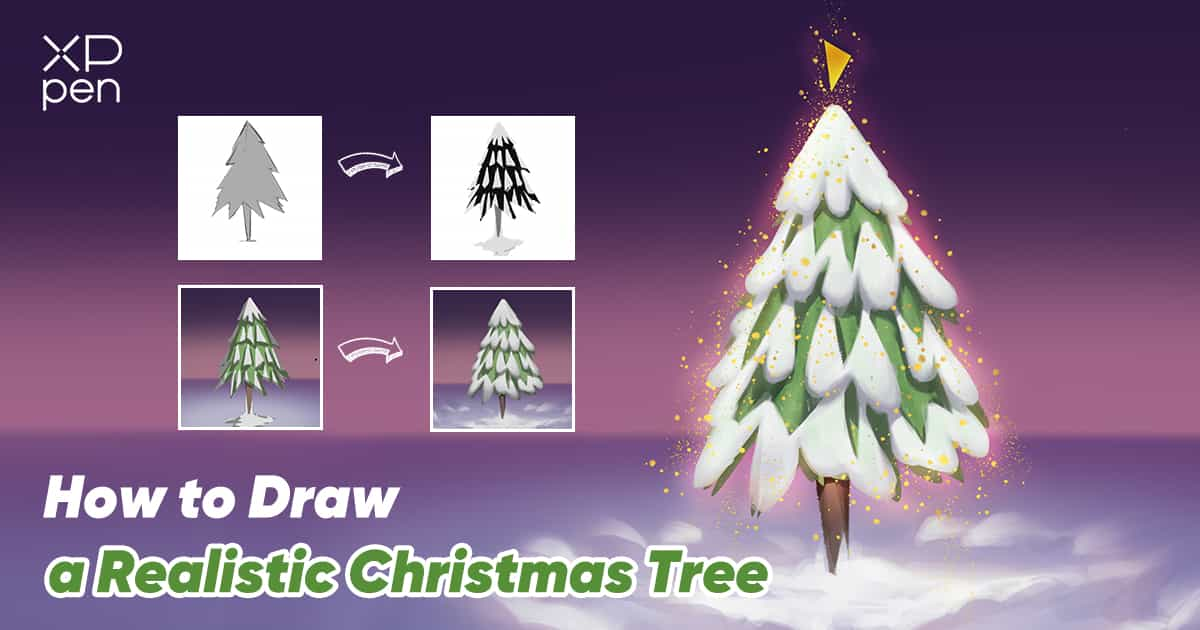
Xmas Tree Drawing Guide: How to Draw a Realistic Christmas Tree Step-by-Step
PLANTSChristmas is coming soon. Do you want to know how to draw a Christmas tree?
In this article, we are going to guide you through the process of drawing a realistic Christmas tree with the help of a detailed step-by-step diagram and an accompanying video tutorial.
The drawing tablet we use this time is the XPPen Deco 640. This outstanding drawing tablet is remarkably lightweight, weighing only 170 grams. It is equipped with an impressive 16K pressure sensitivity, allowing for highly precise and nuanced drawing, and also features 8 user-friendly soft shortcut keys for enhanced convenience and efficiency. It is not only a top-notch professional drawing tablet but also offers exceptional portability, making it a perfect choice for those who are often on business trips or any kind of travel excursions. Now, without any more delay, let's get right into today's thrilling tutorial!
Step1:Set the canvas size
First, connect Deco 640 to the computer. Then, launch PhotoShop and proceed to create a new canvas. Set the width of the canvas to 2850 pixels, the height to 1900 pixels, and the resolution to 72 pixels per inch.
Step2:Draw the outline of the Christmas tree
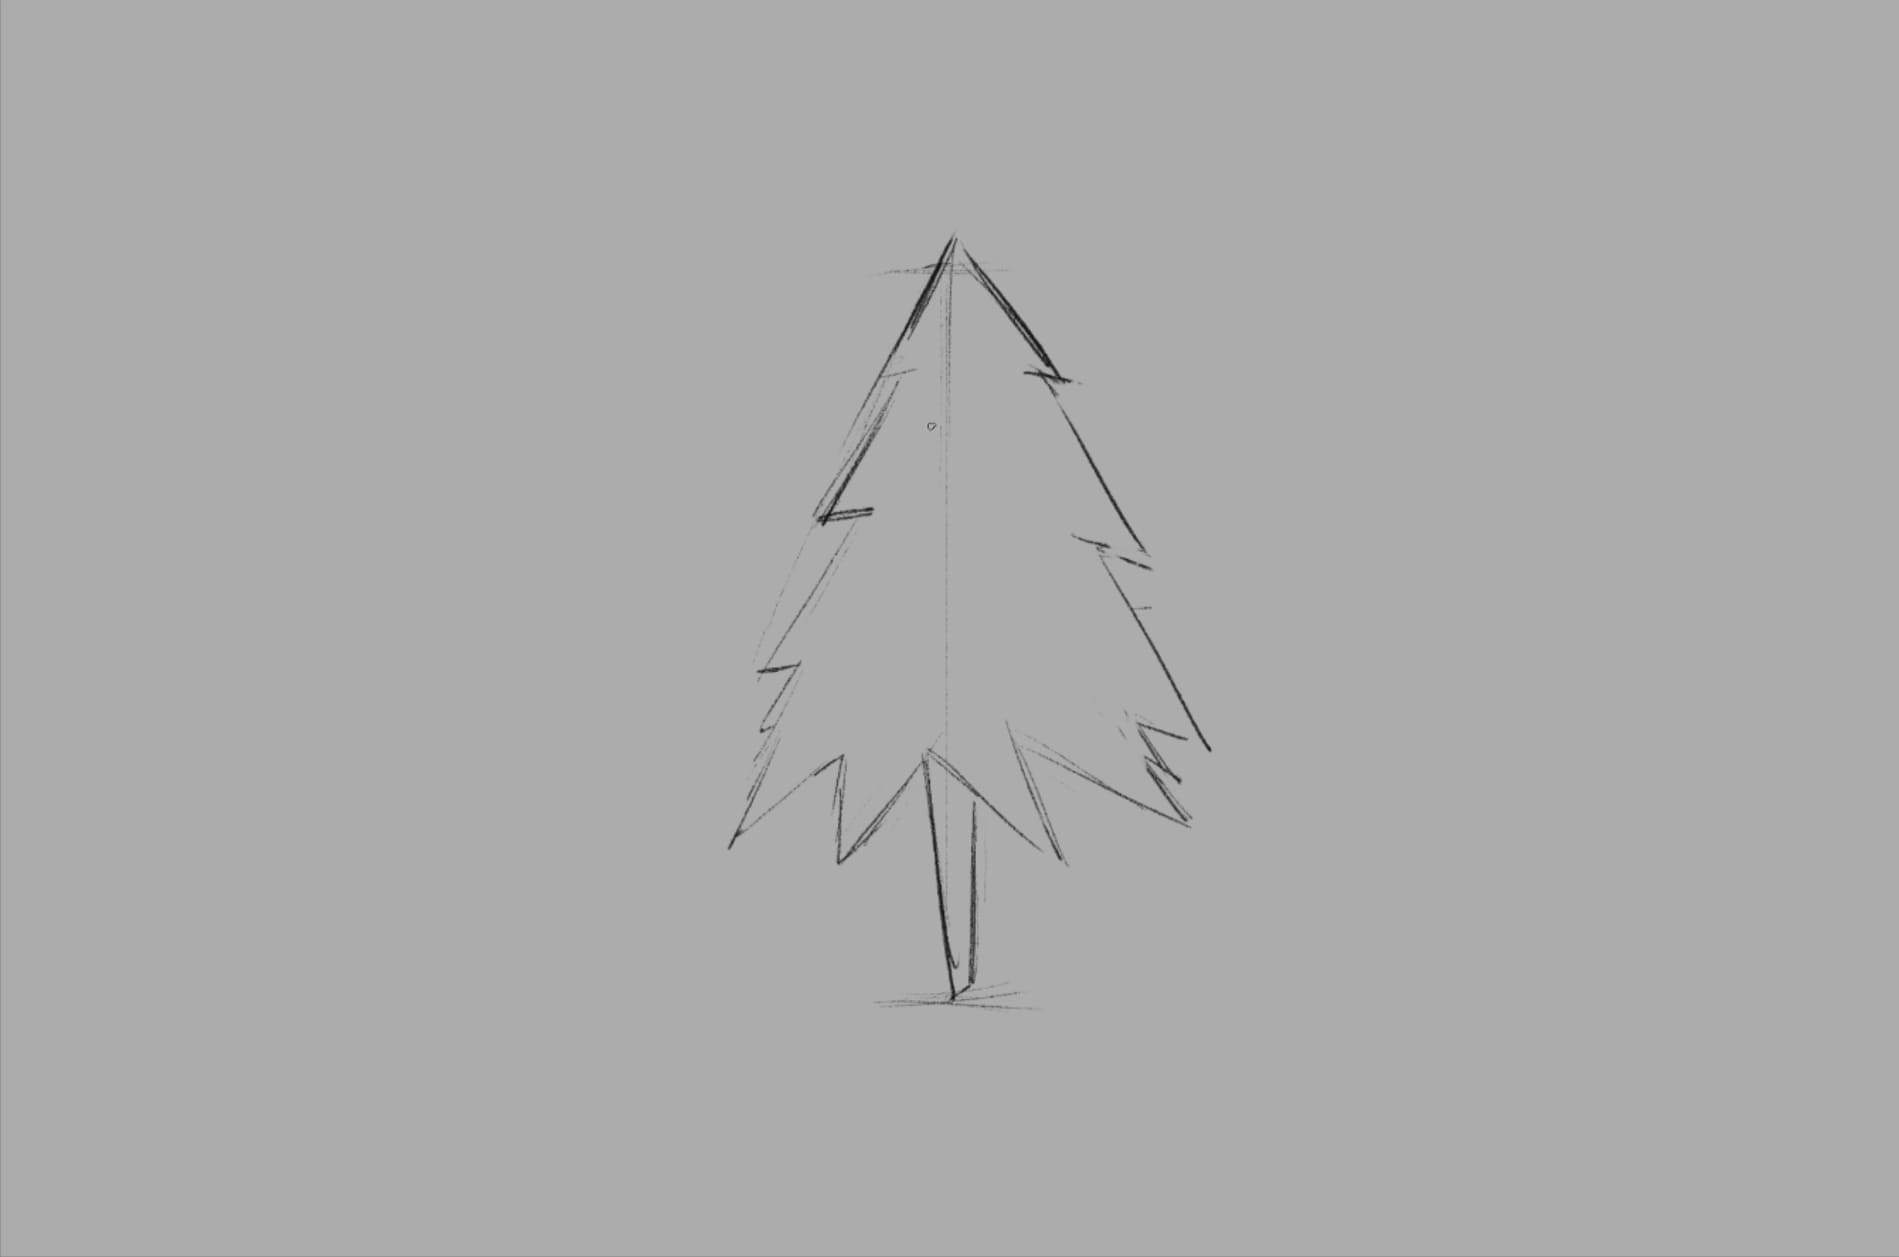
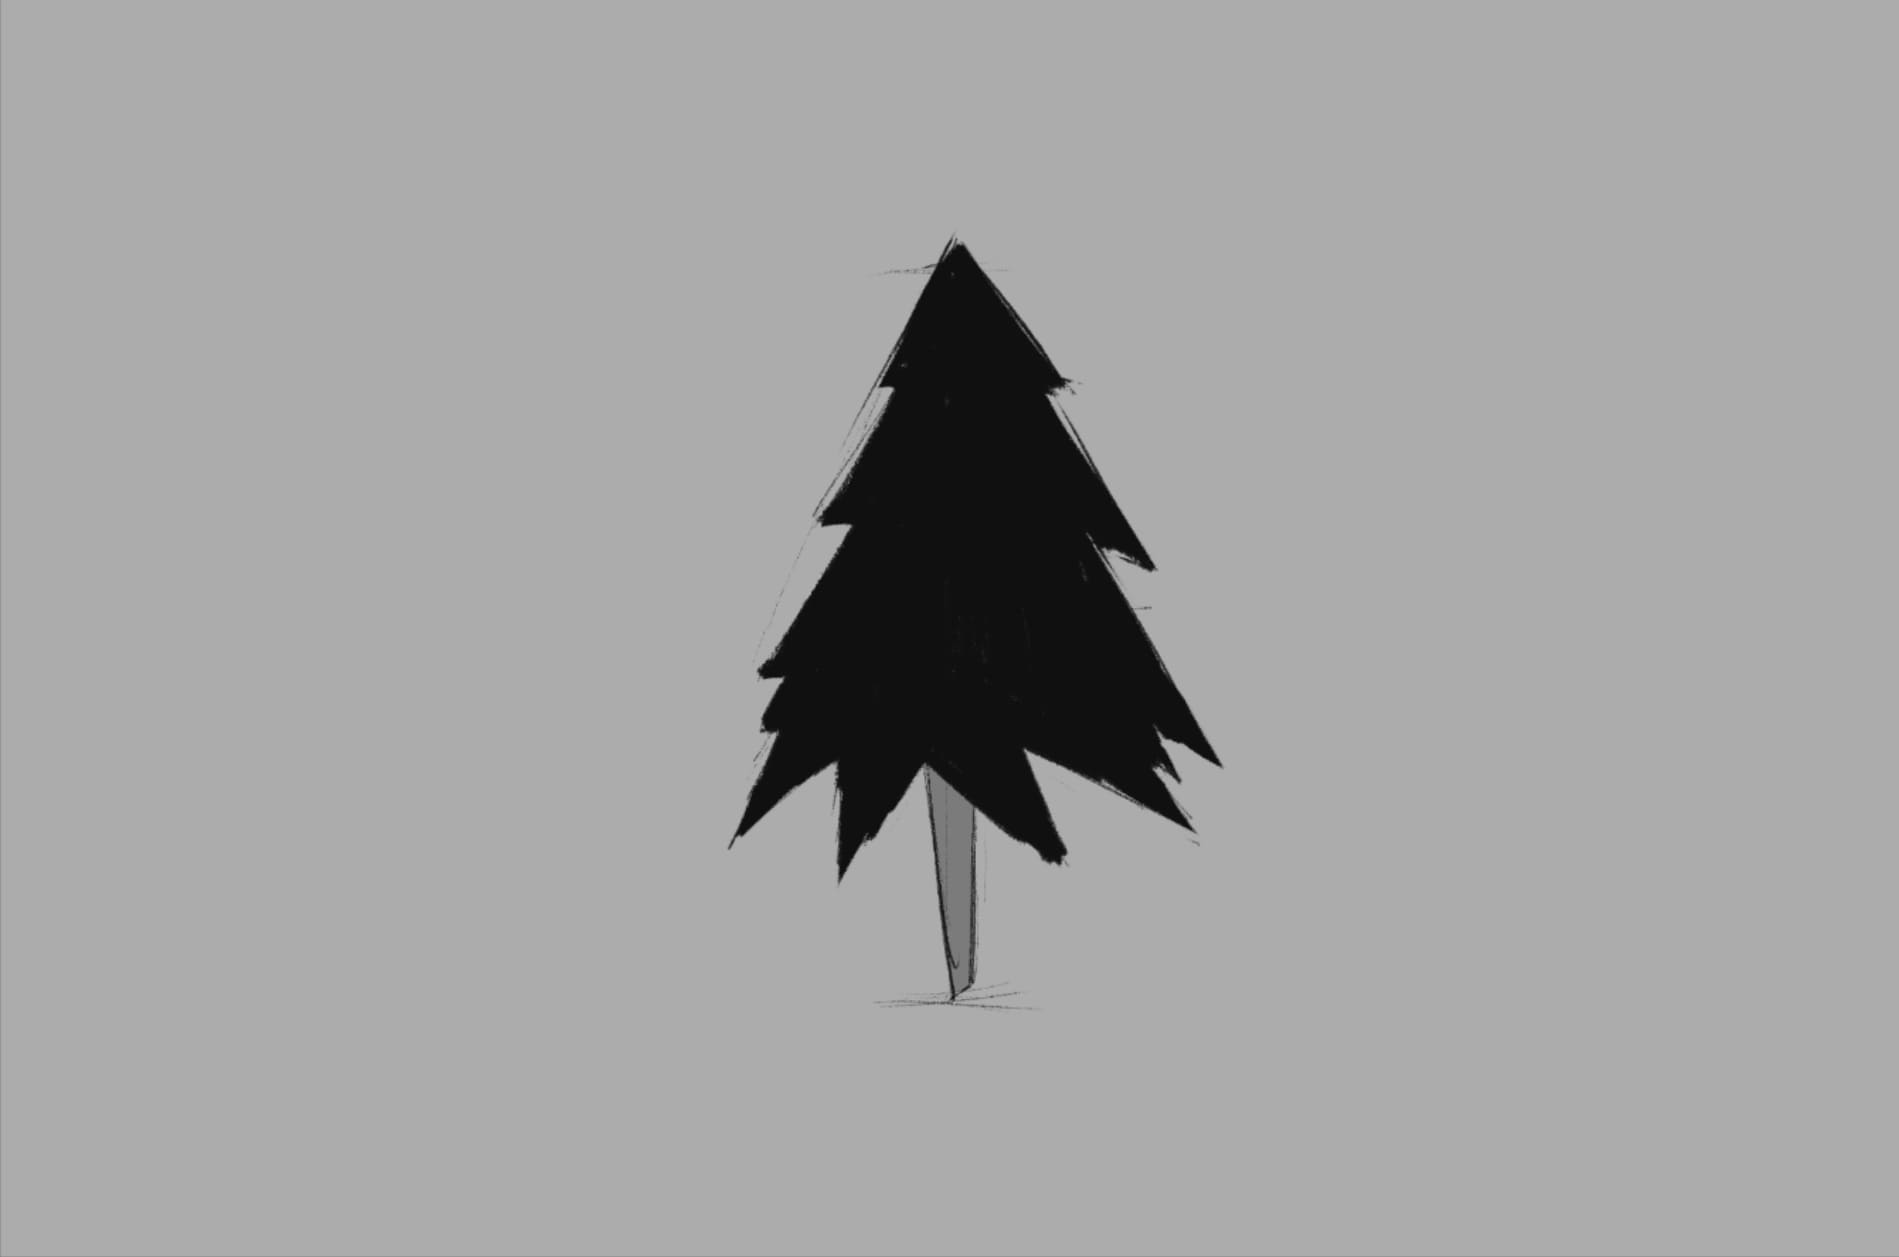
After that, pick the KYLE Ultimate Charcoal Pencil Med2 brush and adjust the thickness to approximately 10. Determine the height and the center line of the Christmas tree. Sketch the outline of the Christmas tree, making sure that the natural asymmetry between the left and right sides is maintained. Consciously divide the tree crown into three or four sections and draw the outline shape accordingly. Subsequently, fill the crown with black color and the trunk with a shade of gray that is slightly lighter.
Step3:Draw snow on trees
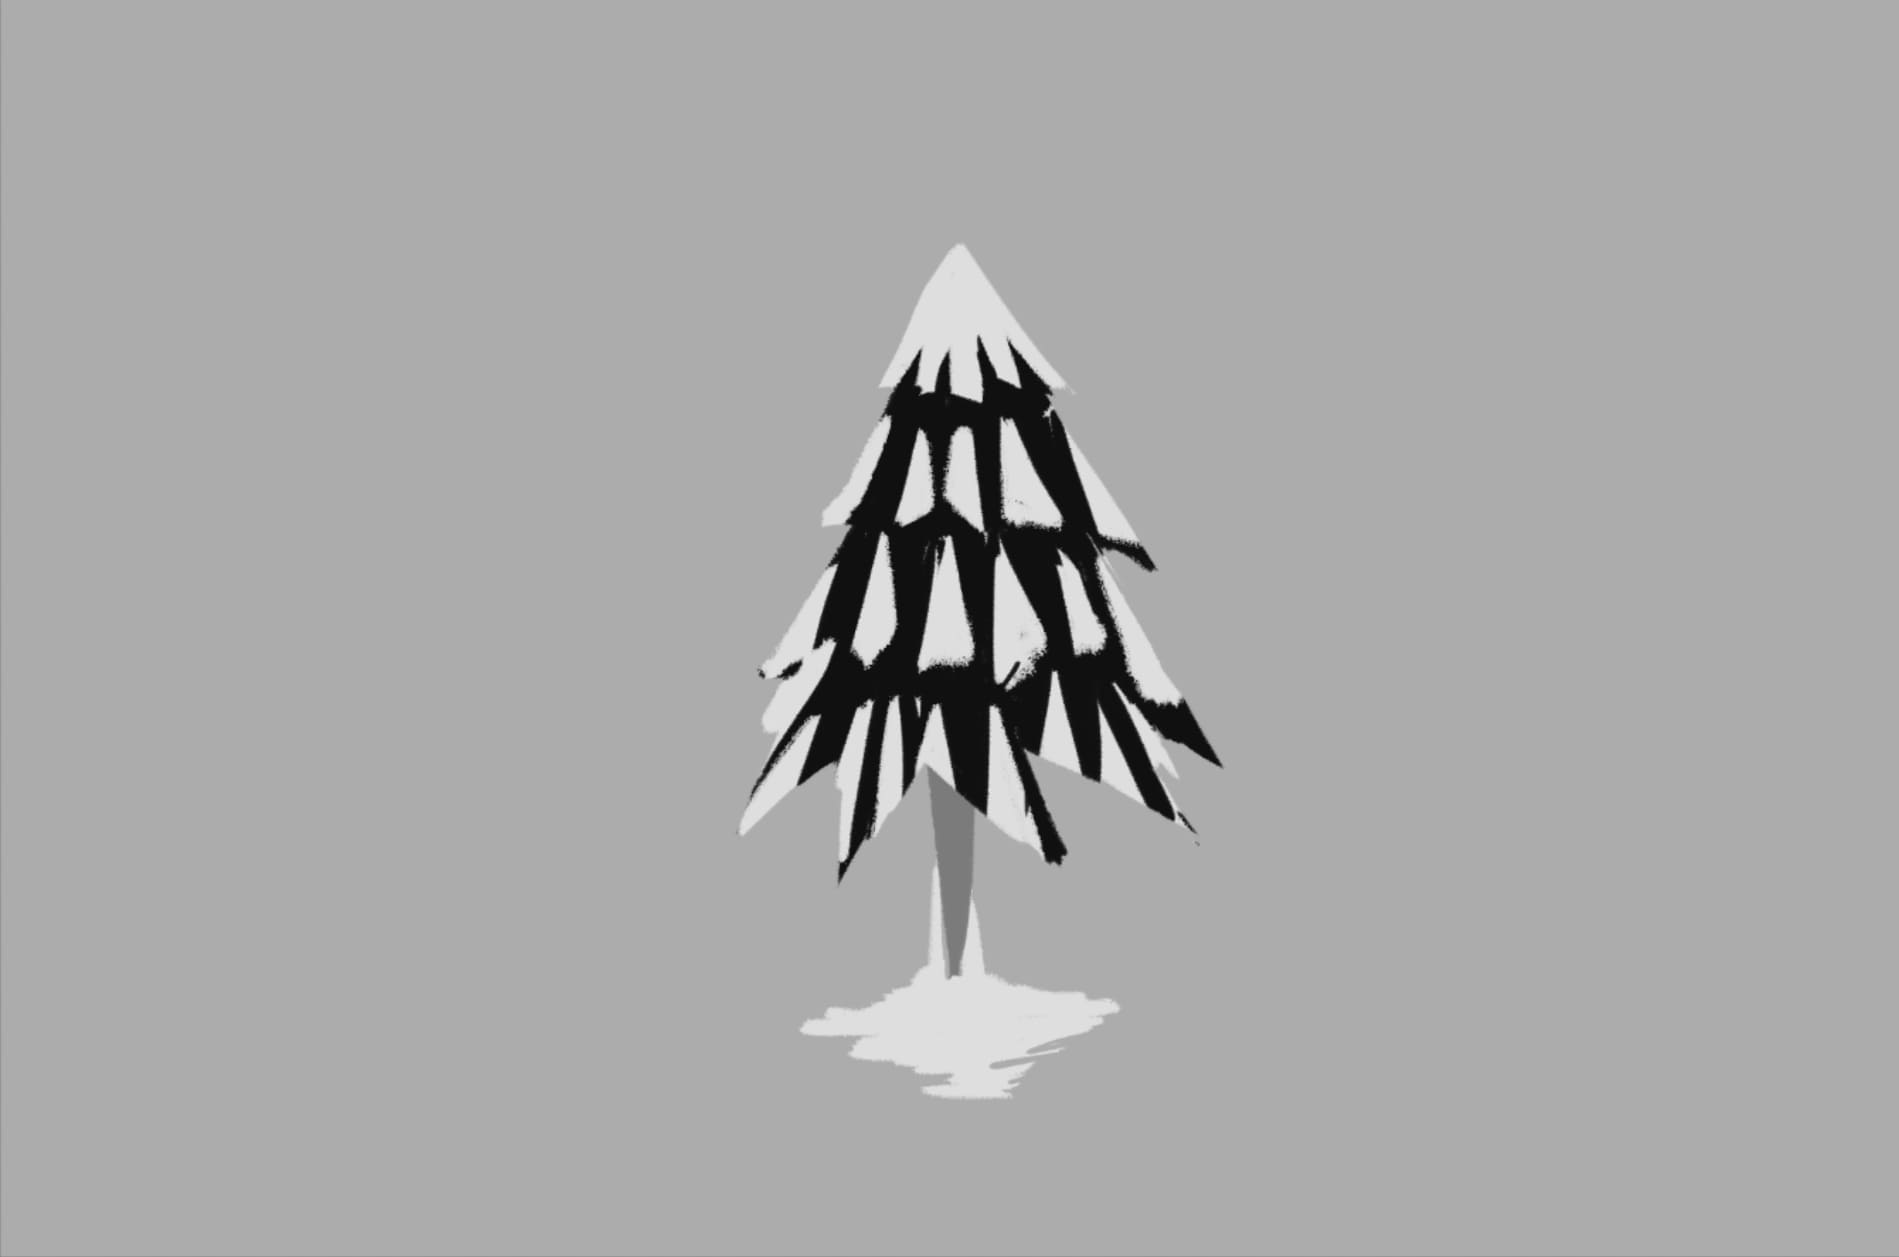
Hide the initial sketch and then start drawing the snow that's covering the crown of the Christmas tree. Employ white blocks and gradually increase the brush strokes in a downward direction from the top and from the sides towards the middle, so as to vividly display the variation in volume. Additionally, draw some snow beneath the tree trunk as well.
Step4:Draw a background and color the Christmas tree
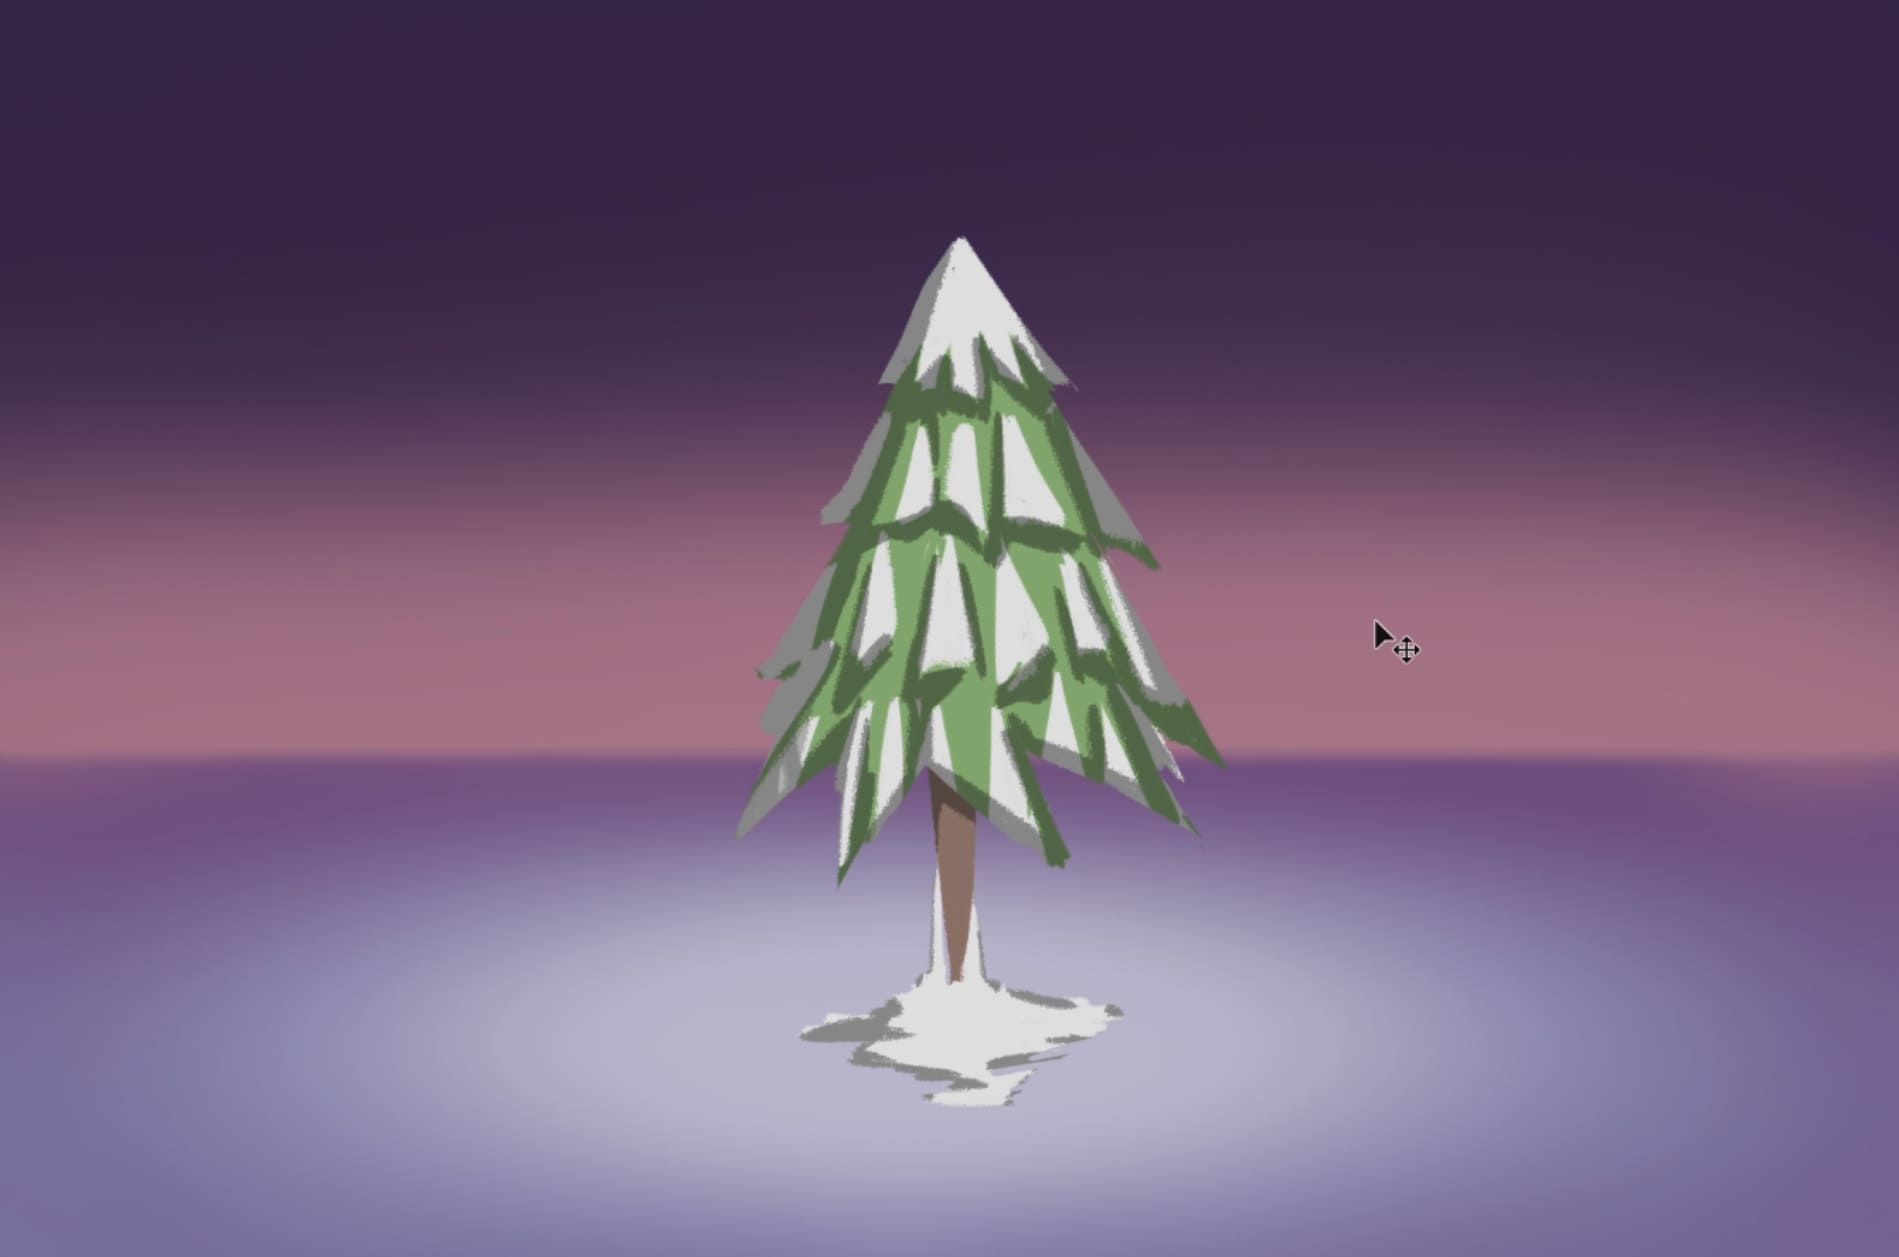
Next, draw a simple background for the Christmas tree. Firstly, adjust the color of the canvas to pink. Then, fill the sky area with dark purple and use an eraser tool skillfully to create a smooth gradient effect. After that, fill a blue-purple color to represent the snow-covered ground. To enhance the sense of space, use dark purple to deepen the colors around the edges.
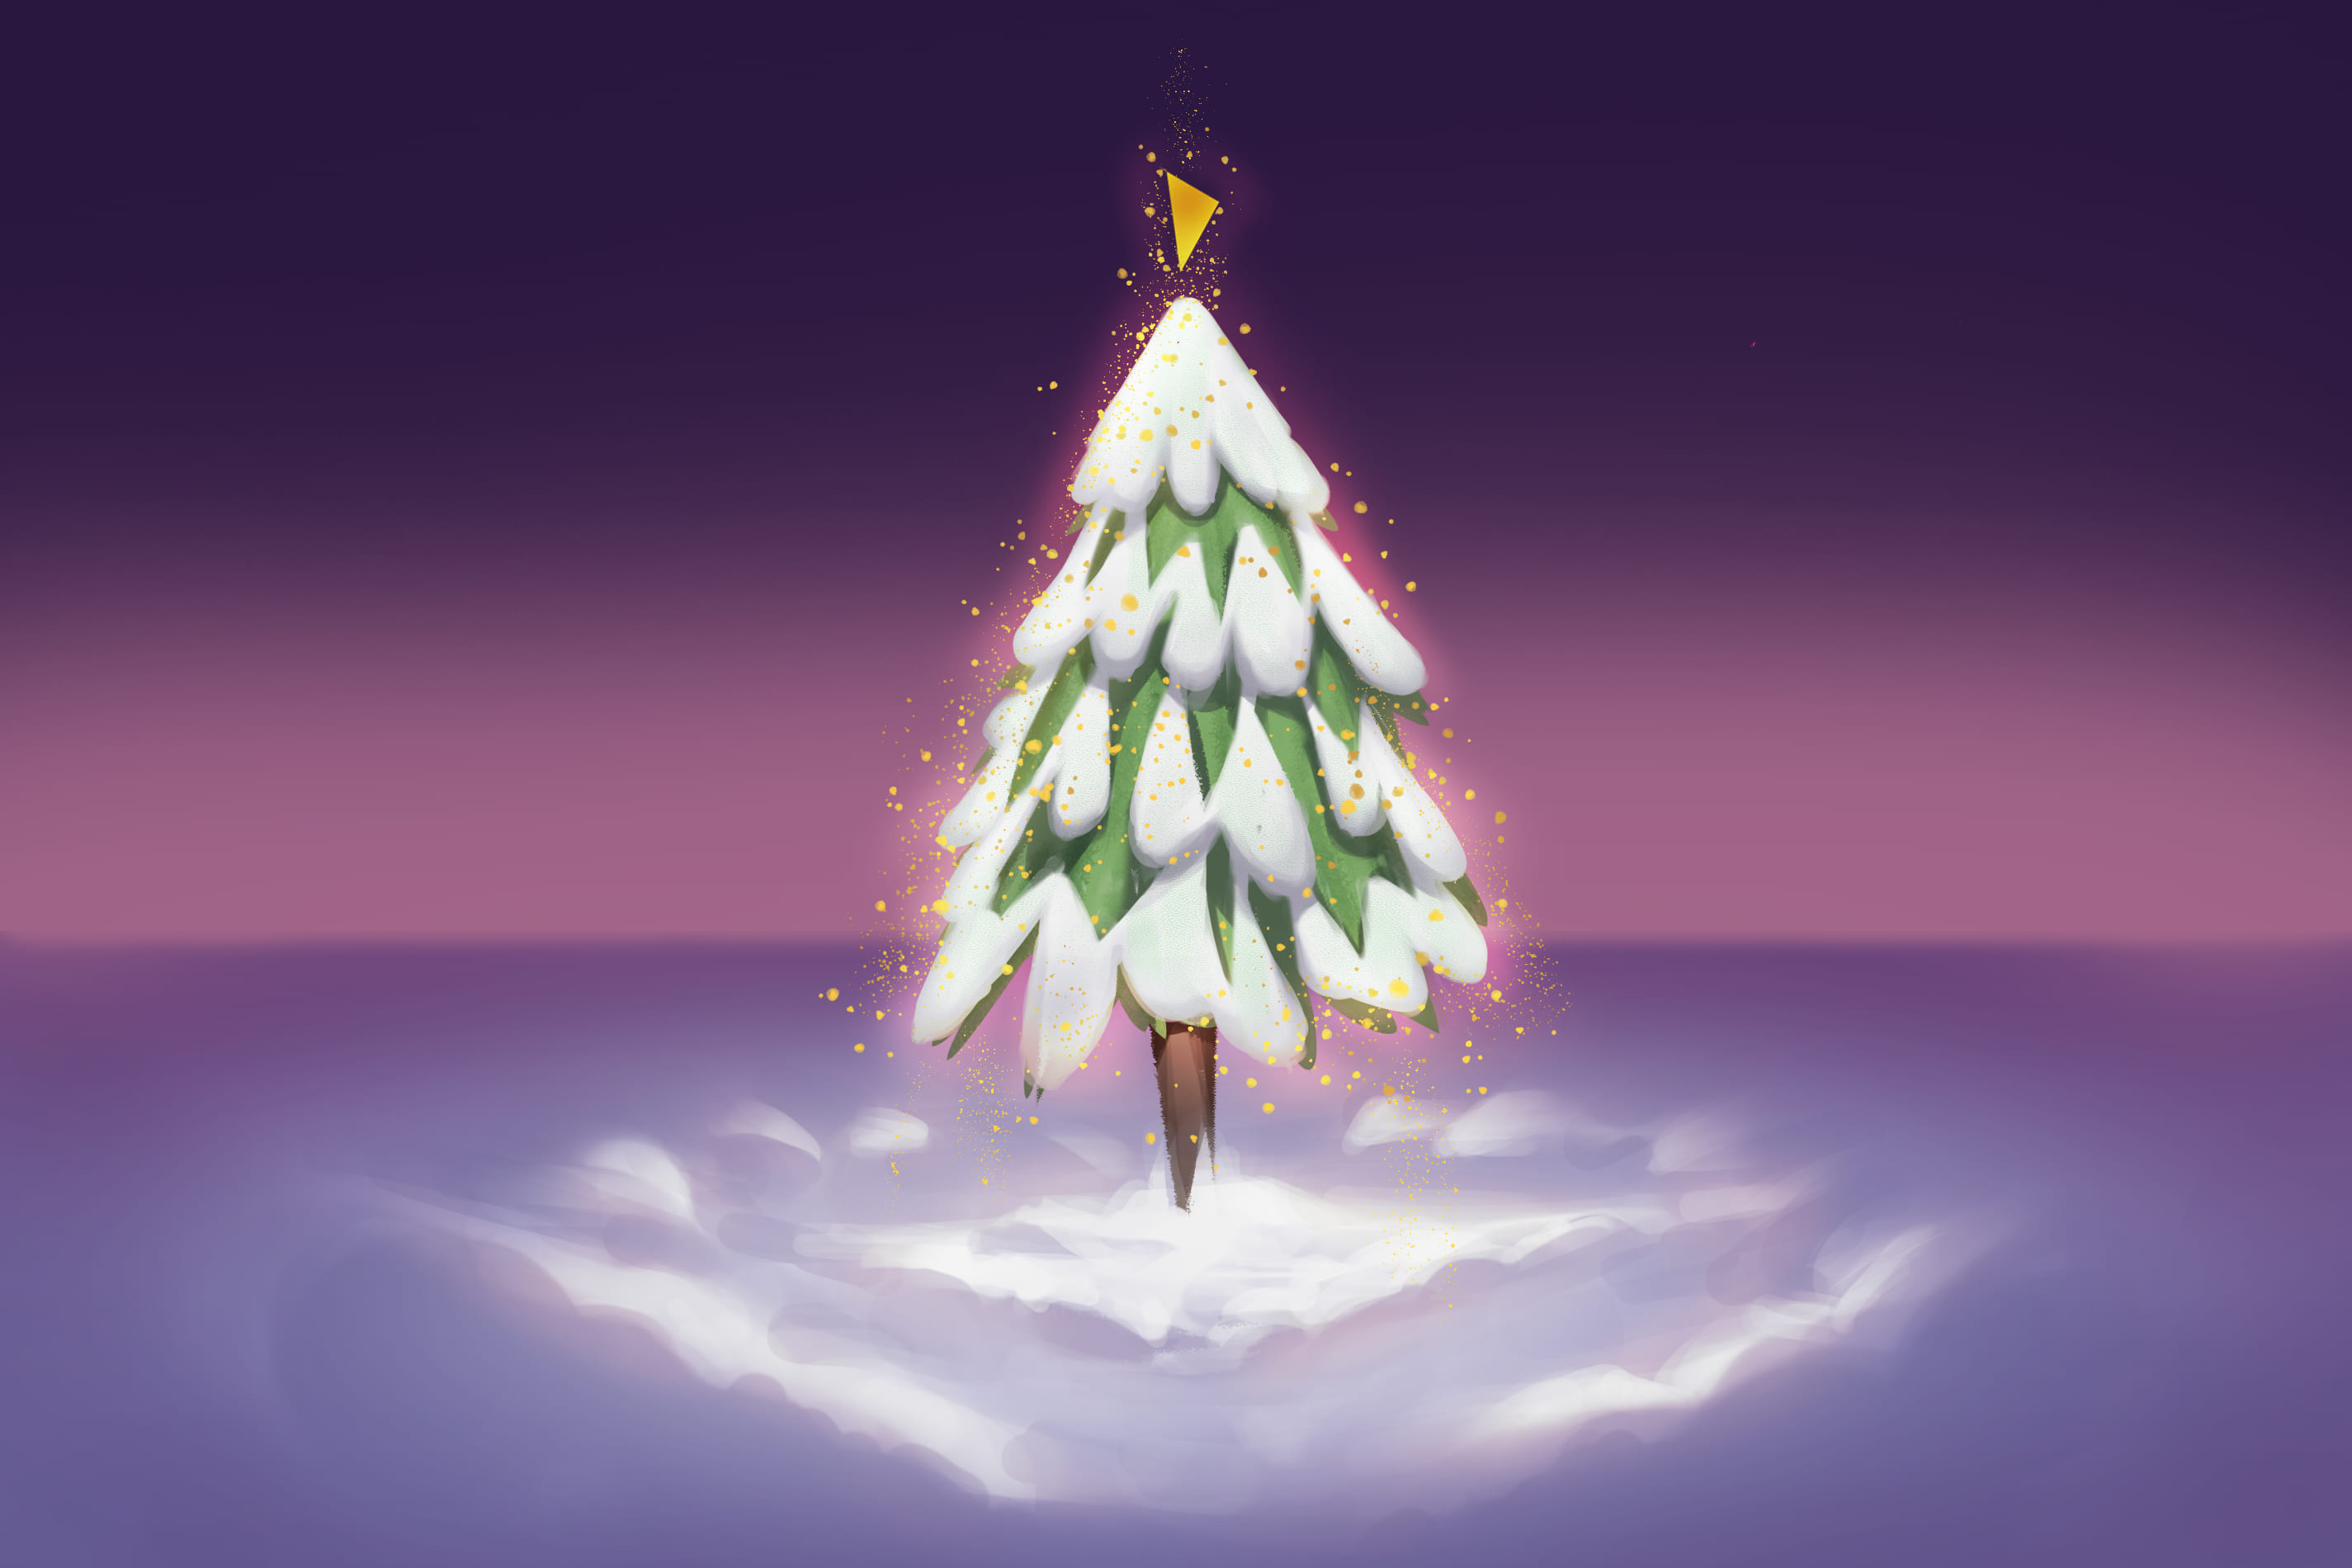
Now, let's work on the colors of the Christmas tree. Utilize the shortcut key Ctrl + U to open the hue/saturation adjustment box and check the coloring option. Paint the tree in a light green hue and the trunk in a light brown shade. Given that we've set the light source as top light in this scenario, apply the Multiply layer mode. With this layer mode, add darker parts and projections to the sides and bottom of the Christmas tree to make it look more three-dimensional and realistic.
Step5:Detailed depiction
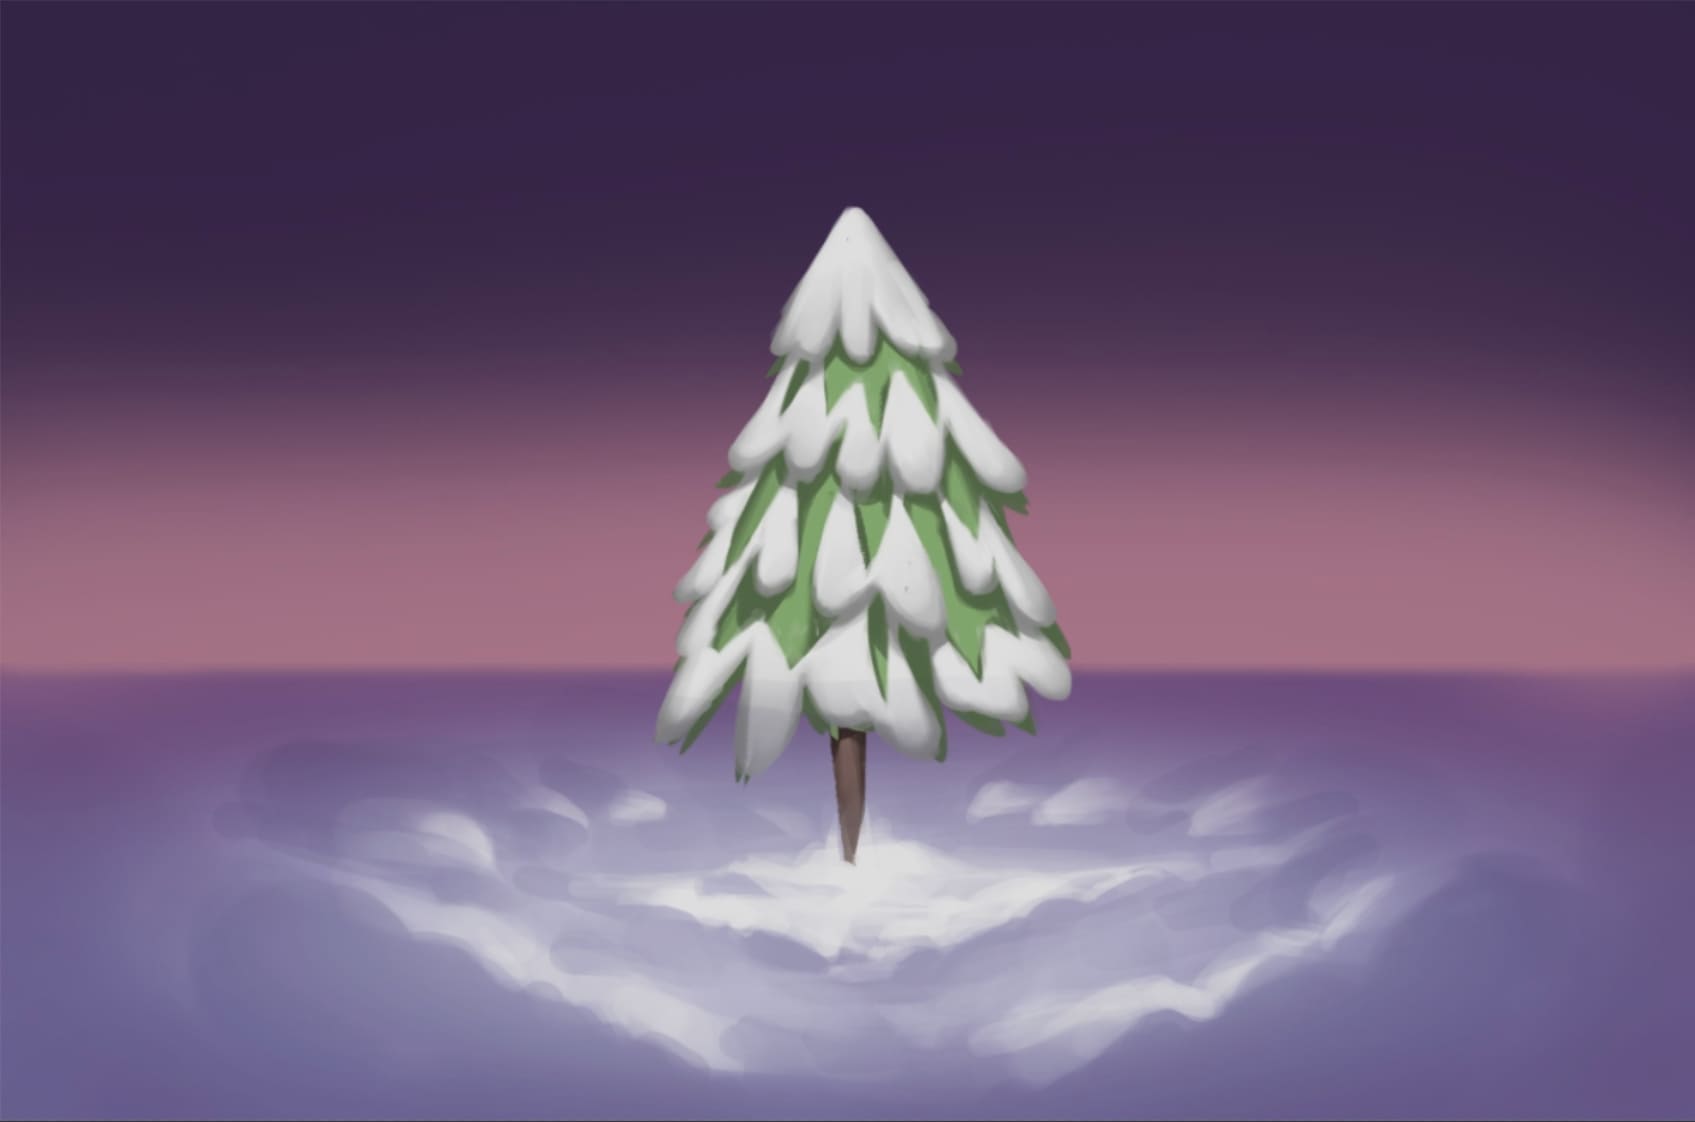
Employ a soft-edged brush stroke to further refine the details of the tree crown and the snow. Modify the form of the dark and light projections in accordance with the contours of the tree crown and the snow, thereby generating a more pronounced sense of volume and depth.
Step6:Add decorations and light effects
Now it's time to add decorations and light effects to make our Christmas tree even more charming.
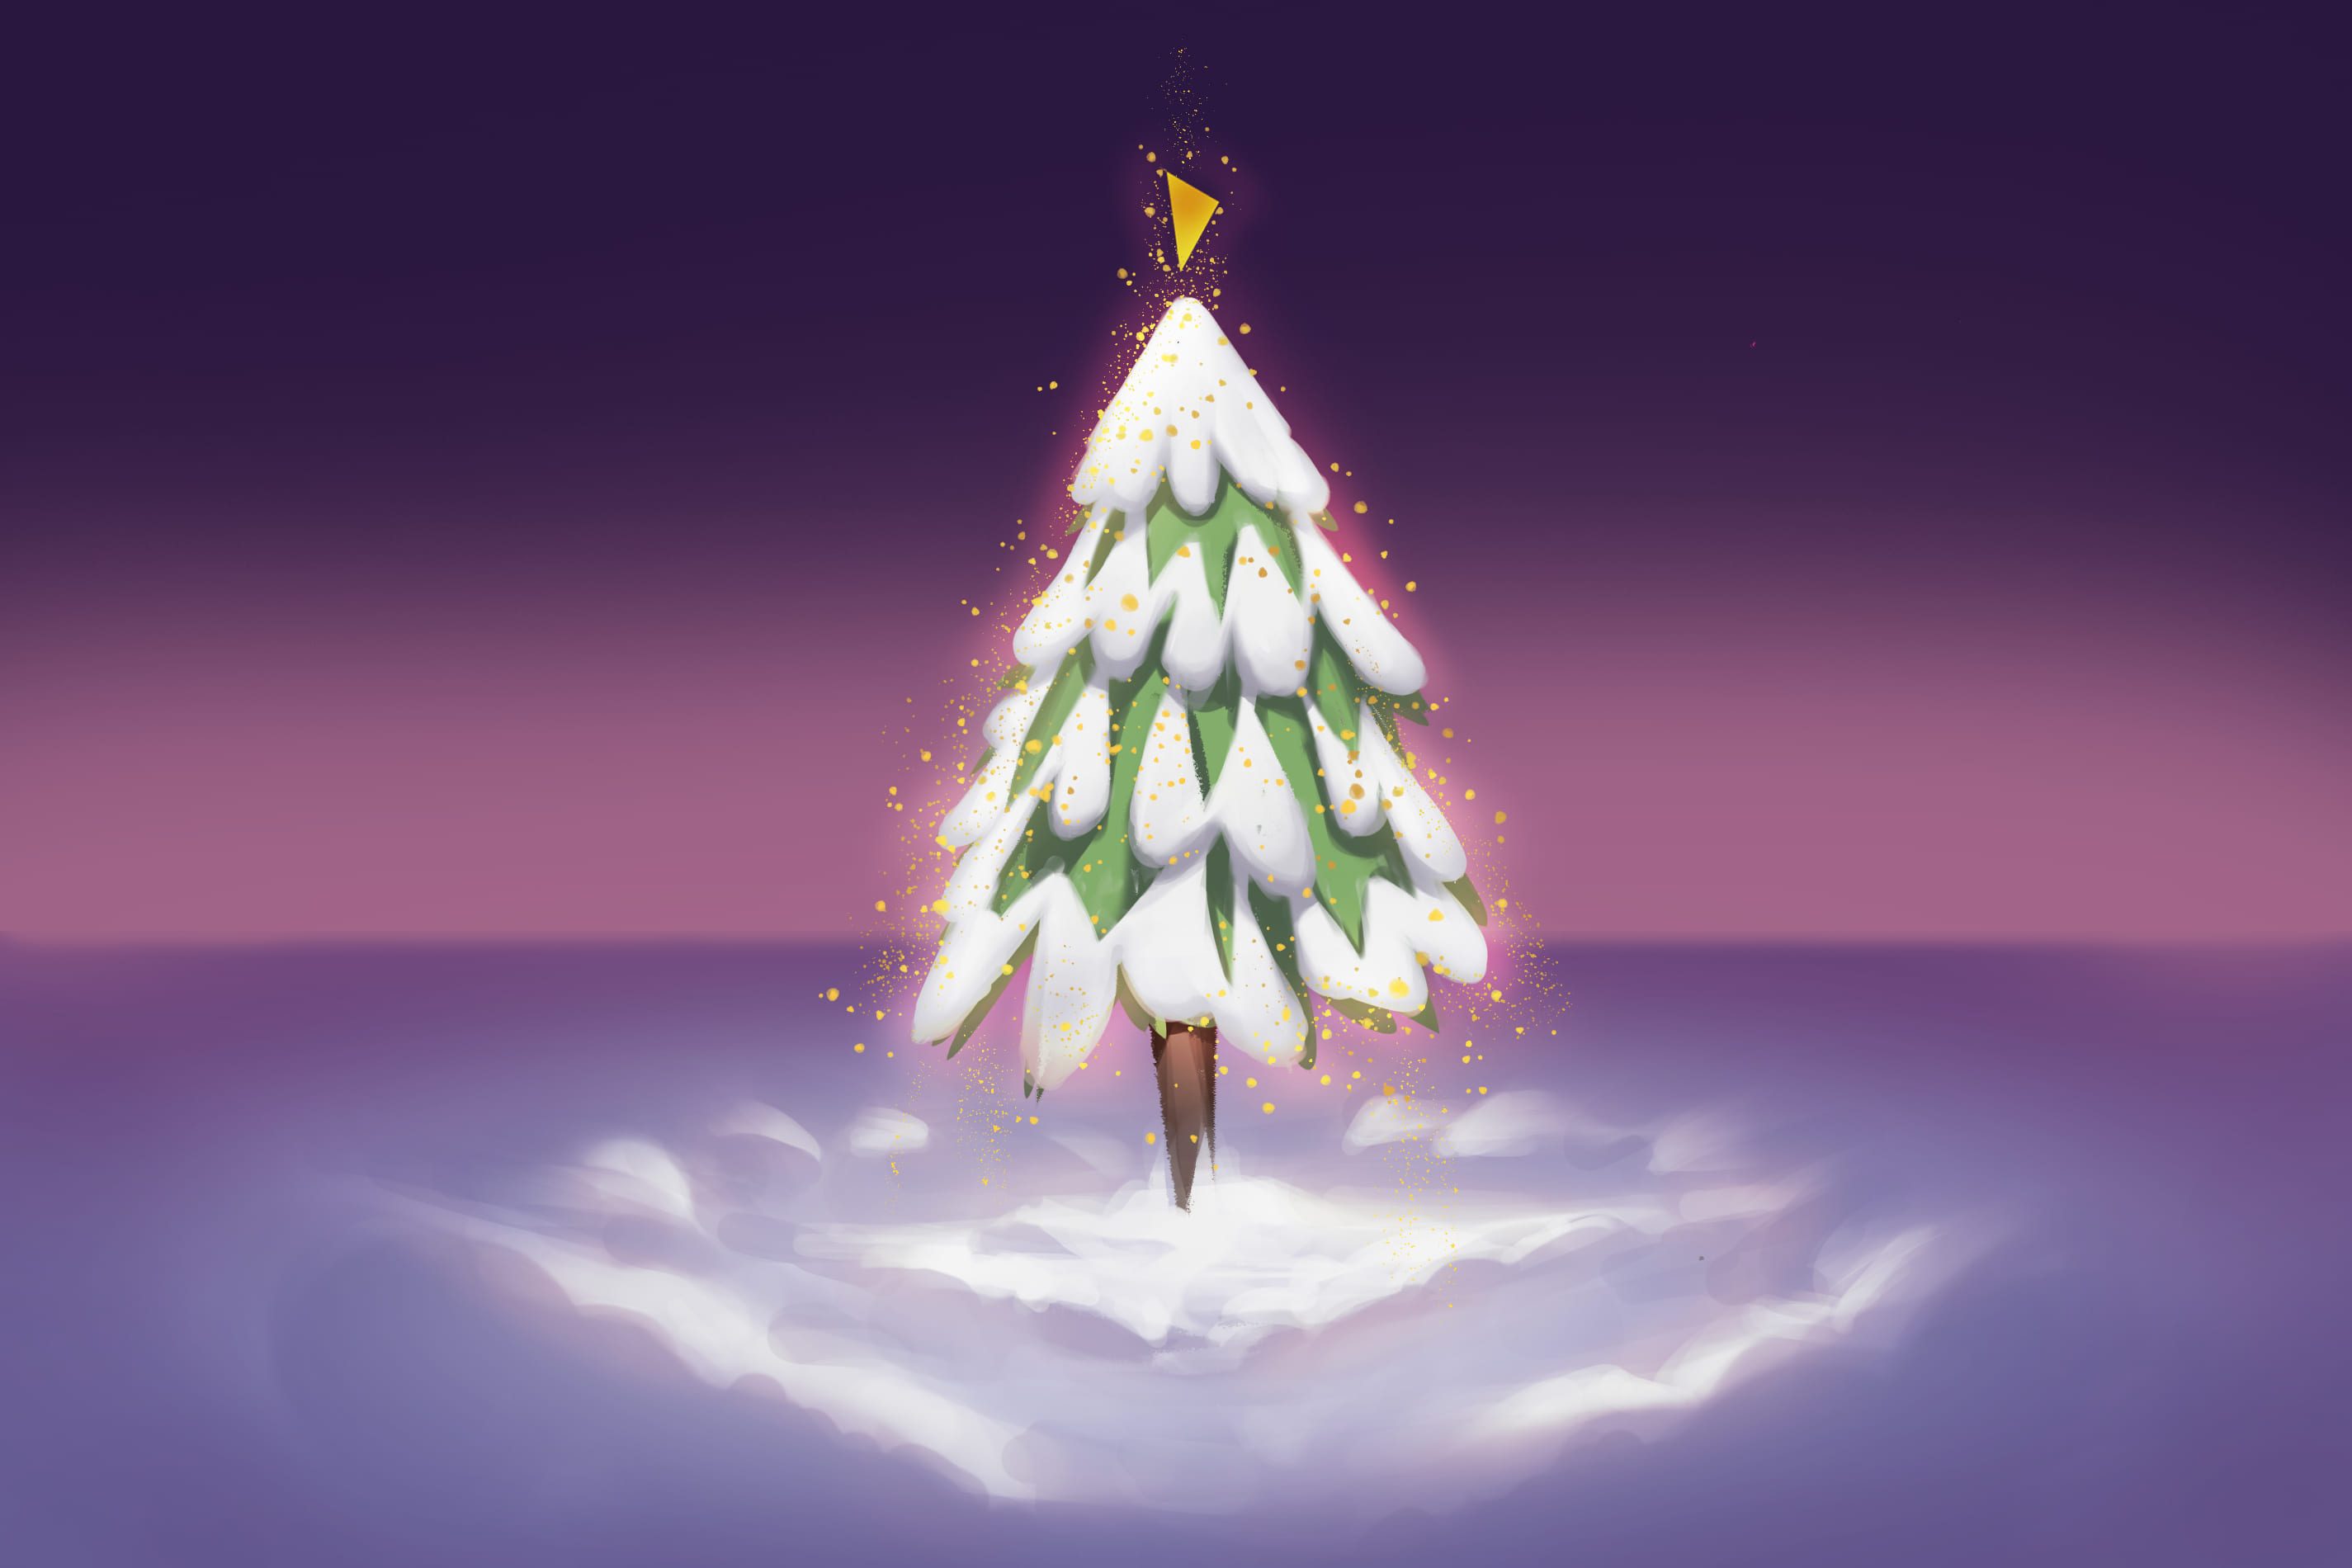
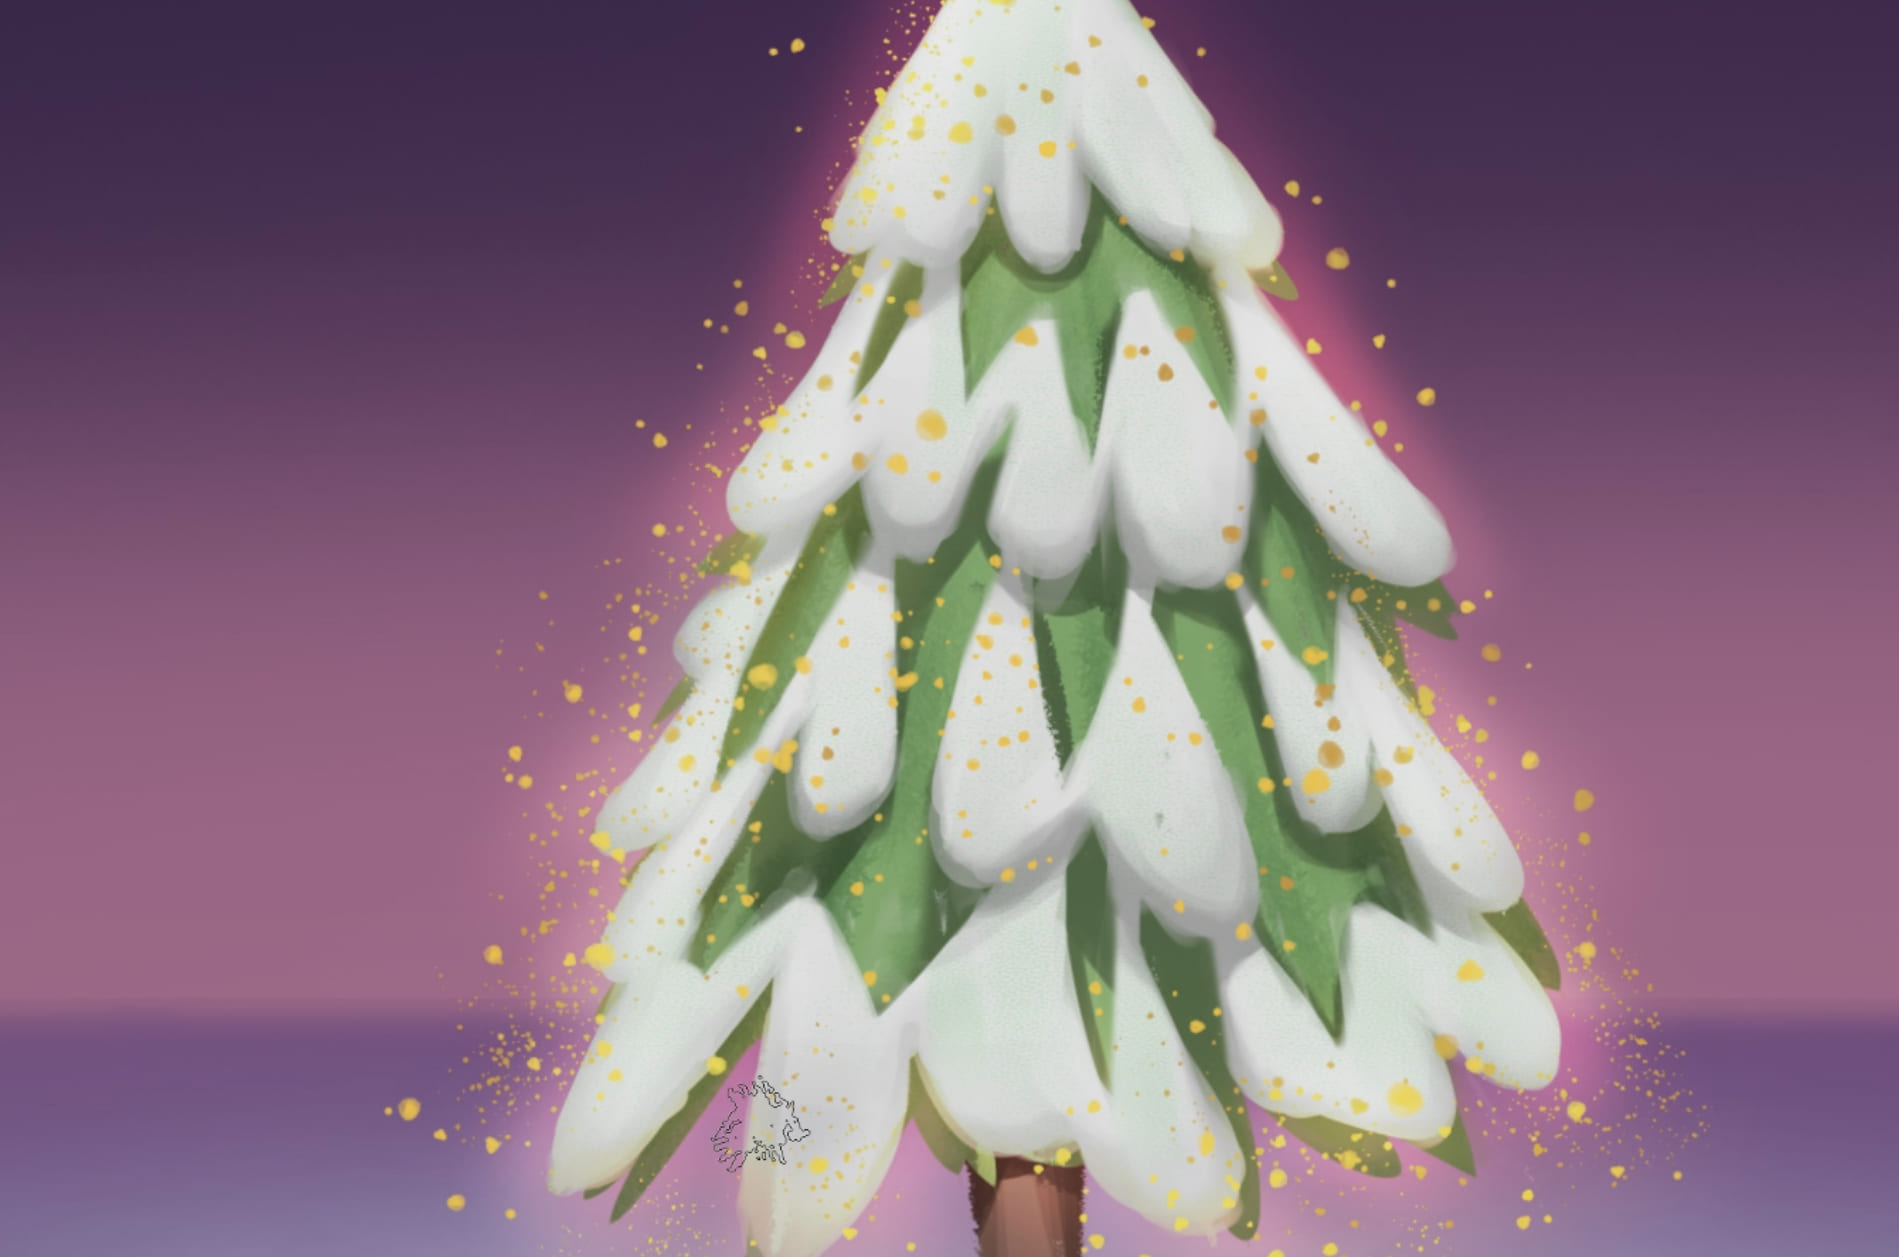
First, create a new layer and set it to Color Dodge mode. Then, take a soft-edged brush and delicately add light effects to several key areas. These include the edges of the Christmas tree, the boundaries where light transitions to dark, and of course, the various decorations on the tree. This will give the whole scene a warm and glittering touch.
Moreover, don't forget about the snow on the ground. Due to diffuse reflection, it will also emit a faint, soft light. To achieve this effect, choose a granular brush. Begin by using a relatively small brush to gently dot some of the snow that's covering the tree. After that, adjust the brush size and add more dots to the base of the tree. While doing so, be cautious not to overlook the decorations placed on top of the tree, ensuring that each element gets its fair share of the magical light effect and contributes to the overall festive and enchanting atmosphere of our Christmas tree illustration.
Step7:Adjust the color tendency and brightness
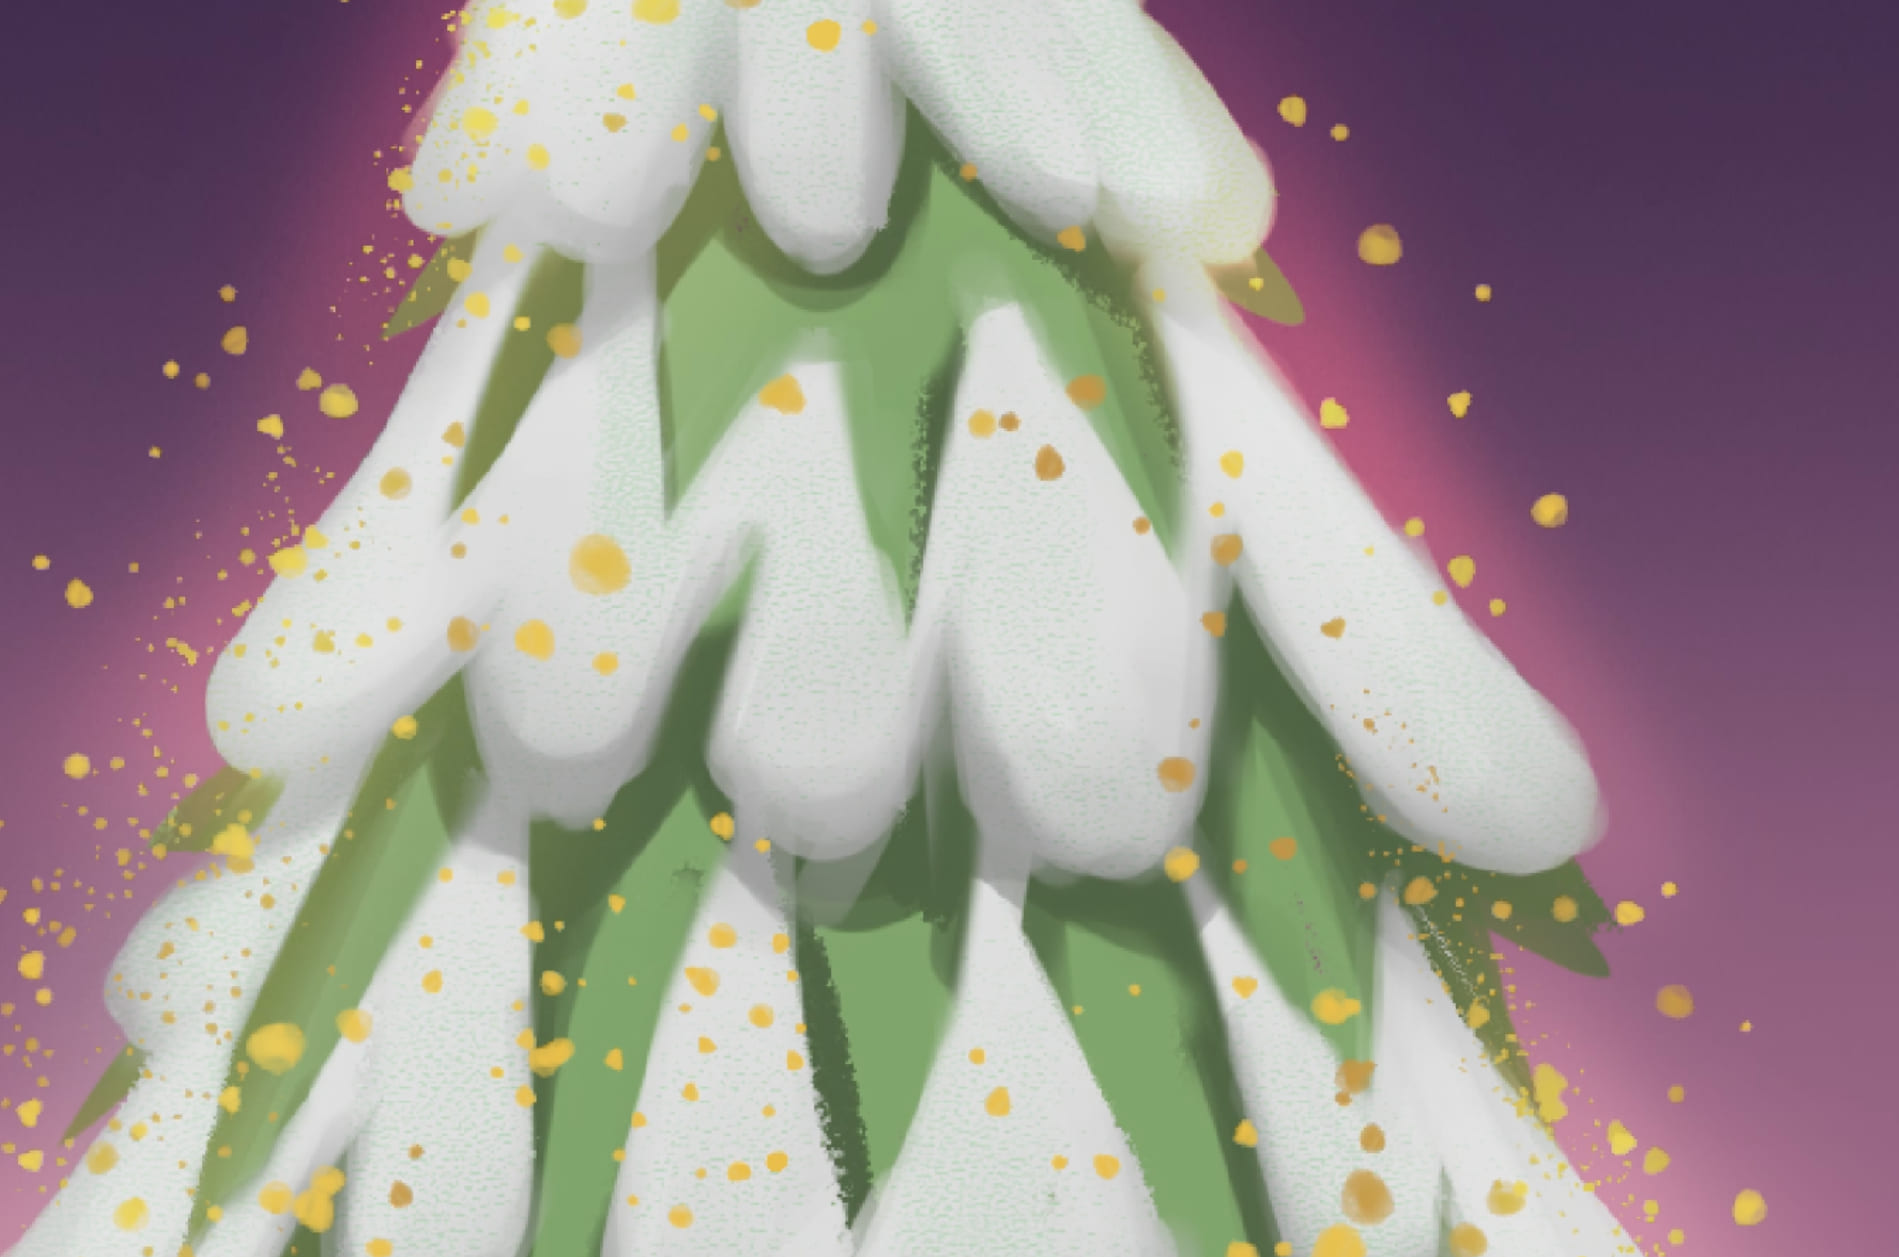
Select appropriate brushes and use the Multiply layer mode to add texture to the snow and the tree. Finally, adjust the color tendency and brightness properly, and then it's all done.
Video Tutorial
About Us
Founded in 2005, XPPen is a leading global brand in digital art innovation under Hanvon UGEE. XPPen focuses on the needs of consumers by integrating digital art products, content, and services, specifically targeting Gen-Z digital artists. XPPen currently operates in 163 countries and regions worldwide, boasting a fan base of over 1.5 million and serving more than ten million digital art creators.
Learn moreWant to elevate your drawing skills?
Discover step-by-step tutorials, expert tips, and creative techniques to boost your drawing skills.


