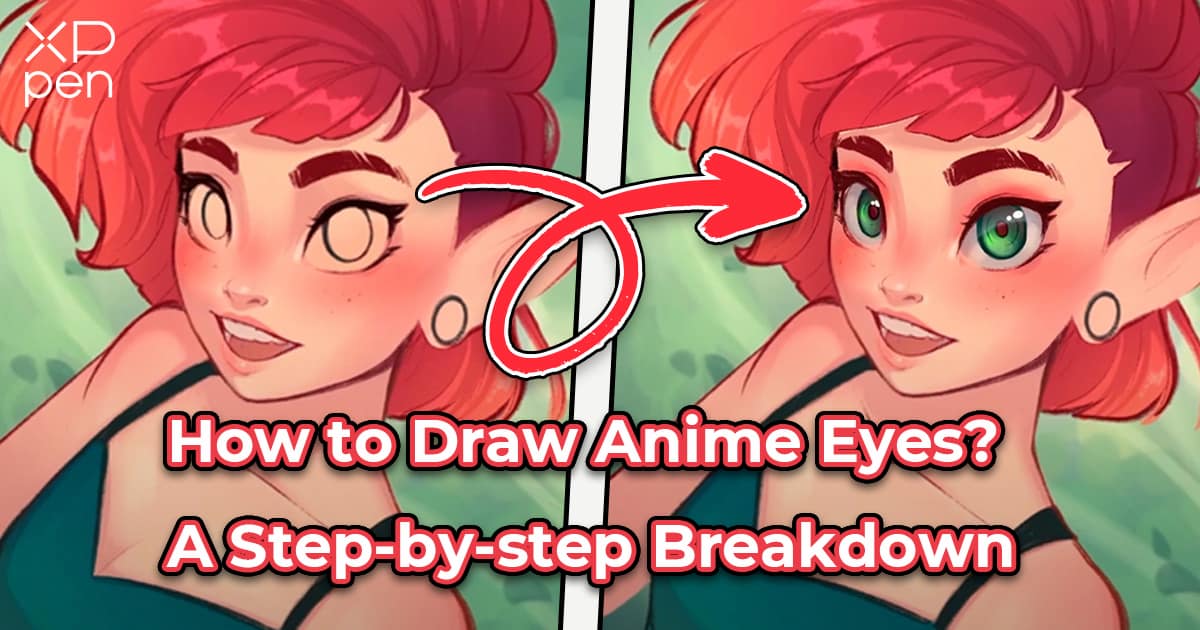
How to Draw Anime Eyes Step-by-step? A Beginner's Guide
OTHERSIf you are a fan of animes, you know that eyes are the soul of a character. They give away the character's charisma and emotions. But when it comes to sketching your own anime character, let's face it—the eyes can be really tricky to sketch.
Instead of practicing endlessly to capture the bold shapes and exaggerated features, take a break and try this shortcut.
Today at XPPen, we're excited to have our in-house illustrator Lin and our special guest ChrissaBug guide you on how to draw anime eyes step by step. (Drumroll, please!)
You'll find anime eye sketches at any angle and detailed instructions on creating dimensional anime eyes in Krita. Now, let's crack on!
How to Draw Anime Eyes with Pencil 101
1. Nail down the proportion first
Realistic eyes are closer in size to each other, with the distance between them matching roughly the width of an eye. The width of the whole face, in realistic drawings, would stretch across roughly five-eye lengths. (That stands true for most people. Feel free to grab a family album or look up your favorite idols to see for yourself!)
On the other hand, anime does not stick to such rulebooks. Here, eyes take center stage, often enlarged to span up to a third of the face's width—all to create a more expressive and dramatic look.

2. Don't forget the view angle
Frontal views often feature large, detailed eyes with prominent highlights.
Side views may compress the eye shape, emphasizing the curvature and thickness of the eyelashes.
"Oh, I know this. But how to draw them in the right shape with pencils and paper?"
The variations of anime eyes at different angles are difficult to tackle. We thought so, too—until our illustrator Lin showed us his magic tricks on his drafts. And here they are.
How to draw anime eyes with pencils from the side?
To draw an anime eye from the side, imagine a circle on a basketball and rotate it by 90 degrees. Just like when you observe people around you, the eye transforms into a small leaf shape (or the shape of an invisible contact lens, if you prefer) when viewed from the side. This is the shape an anime eye adopts in this perspective.
To better capture this shape, draw a circle to establish the structure, then place the leaf-shaped pupil at the far right edge of the circle, making it occupy about one-third of the circle's height. Next, add the eyelids and eyelashes around the eye on the same side of the circle. Create shades and reflections on the eye to make it dimensional and glossy. After adding the details, carefully erase the circle and any other grid lines.

3. Stylize the eye structure
In anime eyes, certain anatomical features are simplified or emphasized to convey emotions effectively.
You'll want to enlarge the iris and pupil to highlight expressions and simplify the eyelashes and eyelids into a thick curve instead for added drama.
The shape of the eye itself, be it round, almond, or angular, is up to you, as long as it fits your character's personality and mood. A round cow-eyed style often indicates a guileless, carefree, and endearing personality, while an angular shape (like the illustration above by Lin) reveals a calm, rational, and perhaps serious vibe.
In the step-by-step breakdown below, you'll find that our guest illustrator ChrissaBug turns an oval shape into a pupil. Get ready to be blown away!
Two Must-have Tools for Drawing Anime Eyes
1. Animation Software
Mastering how to draw expressive eyes digitally allows for capturing nuances and details with ease. Programs like Clip Studio Paint Pro offer user-friendly interfaces and a vast library of customizable brushes. This lets you create sharp lines for a determined gaze or blend colors for depth in emotional scenes.
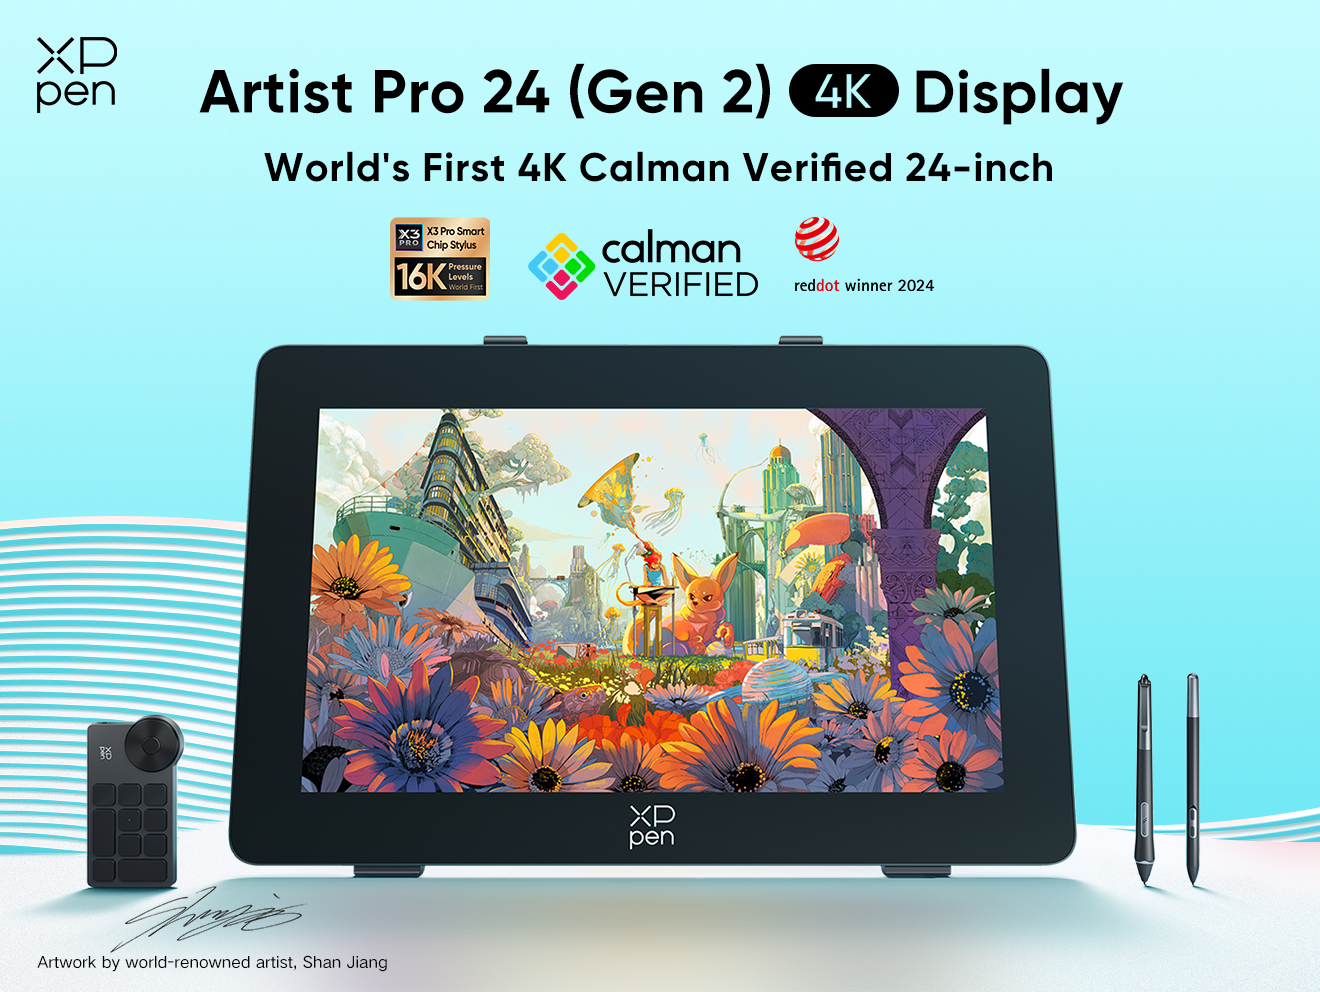
2. A Drawing Tablet with Stylus
A drawing tablet with a pressure-sensitive stylus provides precise control, perfect for drawing nuanced and expressive anime eyes. Look for shortcut buttons, tilt functions for natural strokes, and high-pressure sensitivity for detailed lines. These features will help you translate your creative vision perfectly onto the digital canvas.
When choosing a drawing tablet, consider screen size as well. A larger display can provide a more natural drawing experience, especially for detailed work. XPPen's Artist 24 Pro is a great example of a drawing pad. It features a large, high-resolution display that makes creation more effortless and comfortable than ever. Alongside the essential precision features and shortcut keys, animating your dream world feels just like a breeze.

Tips for beginners:
Generally speaking, there are two types of drawing tablets: those with a screen, which tend to be pricier, and screenless models, which are more minimalist and budget-friendly.
If you're a passionate digital art apprentice looking for an affordable device for animation, the Deco Pro (Gen 2) is a must-have. With its ergonomic curve, slim design, and flexible connection settings, it's easy to carry in your bag, allowing you to create wherever inspiration strikes. Powered by the X3 Pro smart chip, it offers 16K pressure sensitivity for enhanced precision—helping you craft each stroke with pro-level accuracy.
How to Draw Anime Eyes? A Step-by-step Guide
Starting from scratch to draw anime eyes can be challenging if you are not familiar with Clip Studio Paint. Luckily, we invited @ChrissaBug to share her precious drawing tips with us. Here are the takeaways we summarize. To view the full workflow, hit the view button on the video at the end of this section.
1. Position the eyes
Make a light sketch of your character, then divide the face vertically into four sections. Instead of centering the eyes, place them higher up, taking up about three of those four sections. This gives anime characters their signature big, expressive eyes.
2. Sketch out the shape of the eyes
You need to outline the shape of the eyes now. Anime eyes start with closed shapes (circle for cheerful, sharp angles for brooding). Soften the curves of feminine characters, and sharpen them for masculine ones.
3. Contour the lines of the eyes
To define your eyes, add eyelashes. Use a thicker, gently curved line for the upper lid, following the eye's roundness. On the lower lid, use a thinner line. To create depth, gradually thicken both lines towards the outer corner of the eyes.

4. Fill in a gray undertone
Create a new layer for coloring the eyes. Now add a pinkish-gray base instead of flat whites for a more natural look. This tone will create a better foundation for adding other colors and allow for smoother blending later. Using the Smooth Watercolor brush, soften the tear duct area.

5. Color the iris
Consider your character's personality and the desired mood to choose the iris color. You can also match it with the background or your character's hair color. On a new layer, use a hard-round brush to fill this color in.

6. Make the iris deep with a cooler shade
Pick your base iris color and find a shade slightly cooler than it using the color wheel. Here's a pro tip: “lock transparency” for the iris color layer before adding shadows. This keeps the new shade within the iris lines, preventing messy bleeding.
Use a large, soft airbrush to create a gradient on the part of the iris that’s closer to the light source in the sketch. If the light is coming from the upper right corner, focus on the darker shade there.

7. Add paler hues on the iris
Next, pick a lighter hue of the iris color, and using the soft airbrush again, gently apply this color opposite to the darker gradient. It creates an illusion of light reflecting off the iris.

8. Paint the shades of the eyelashes
On a new “Hard Light” layer, use a grayish-purple tone and a hard brush like Clip Studio’s G-pen to block the shadows of the lashes on the eye. Here’s another pro tip: if the light is coming from the right, make the shadows stronger on the left.
Switch to a softer brush with a transparent color to smoothly blend the hard shadow lines, making sure you’re not applying too much pressure while doing so.
Now return to the base layer and use the Smooth Watercolor Brush to select a very light white and apply it below the darker shadows.
9. Sketch the pupils to a proper scale
On a new layer, add the pupils for your character's eyes. Make them small to dial up intensity or large to radiate innocence and wonder. While black is the go-to hue for pupils, you can experiment by adding a pop of color at its center.

10. Introduce more texture on the iris
Add more texture to the iris by using a lighter complementary color. You can select the Watercolor Brush for a natural blend.

11. Deepen the iris’ outer ring
Grab a slightly darker shade of your iris color. This shade will define the limbal ring, the thin border where the iris meets the white. With your textured brush (like Clip Studio's Watercolor Brush), carefully stroke this darker shade around the iris's outer curve, following its shape. You can even use this shade to darken the pupil's outer ring for a sharper, more defined look.

12. Embellish the irises with reflective glints
Place small white highlights where the light hits the eyes. Use a hard brush for ovals or experiment with shapes that reflect the environment, like squares for a window effect. Play with size and number for dramatic or sparkly eyes.

13. Portray the reflections on the eyeball surface
Create a new layer and use the lasso tool to carefully select a crescent shape on the upper part of each iris. Choose a light blue color and switch to the soft airbrush, gently applying this color along the bottom edge of the selection.
Now deselect the area and use the smooth watercolor brush to blend the hard line where the reflection meets the eye. Adjust the layer opacity to make the reflection more subtle.

14. Enrich the details inside and around the eyes
Now it's time for personal touches that reflect your style. A pro tip from Chriss Bug is adding rings to the iris. You might also consider anime-inspired eye makeup.
Besides, to make the eyes stand out, add another layer, change its mode to ‘Glow,’ and use the airbrush to softly paint areas you want to intensify. This creates a luminous, glossy effect.
How to Set Clip Studio Paint Pro on a Drawing Pad?
1. Download and Install
Head over to the Clip Studio Paint website and choose the version that suits your needs. After purchasing, you should receive a download link. Click on the link and follow the on-screen prompts to install the software.
2. Connect and Launch
Make sure your drawing pad is properly connected to your computer. Once the installation is complete, launch Clip Studio Paint Pro from your desktop.
3. Pen Configuration
Depending on your drawing pad model, you might need to fine-tune the pen settings within Clip Studio Paint Pro. This usually involves adjusting pressure sensitivity, shortcut buttons, and other preferences specific to your pad. Clip Studio Paint Pro often provides auto-configuration for popular models, but you can always access the settings to customize for a perfect experience.
4. Test It Out
Create a new canvas or open an existing file to test your setup. Try drawing a few lines and experimenting with the pen pressure to see if Clip Studio Paint Pro recognizes your drawing pad's input correctly.
Conclusion
As is commonly believed, the eyes are the windows to the soul. It’s one of the secrets that make a lifelike anime character. To add soul to the sketches, drawing techniques, the right gadgets, and practice are the key.
This in-depth guide revealed the step-by-step process of how to draw anime eyes. You've mastered shapes, color, and detail, breathing life into characters with every stroke.
With various drawing tablets with screens available, you can elevate your art even further. We explored how essential digital drawing software and high-performance drawing tablets can help you render textures with remarkable precision.
Now, you’re ready to draw anime eyes that capture a spectrum of emotions. Don’t hesitate to get a drawing tablet in our store, and start sketching!
About Us
Founded in 2005, XPPen is a leading global brand in digital art innovation under Hanvon UGEE. XPPen focuses on the needs of consumers by integrating digital art products, content, and services, specifically targeting Gen-Z digital artists. XPPen currently operates in 163 countries and regions worldwide, boasting a fan base of over 1.5 million and serving more than ten million digital art creators.
Learn moreRecommended Articles
ROUNDUPS 8 Best Drawing Tablets for Animation 2D & 3D – A Must-Have for Animators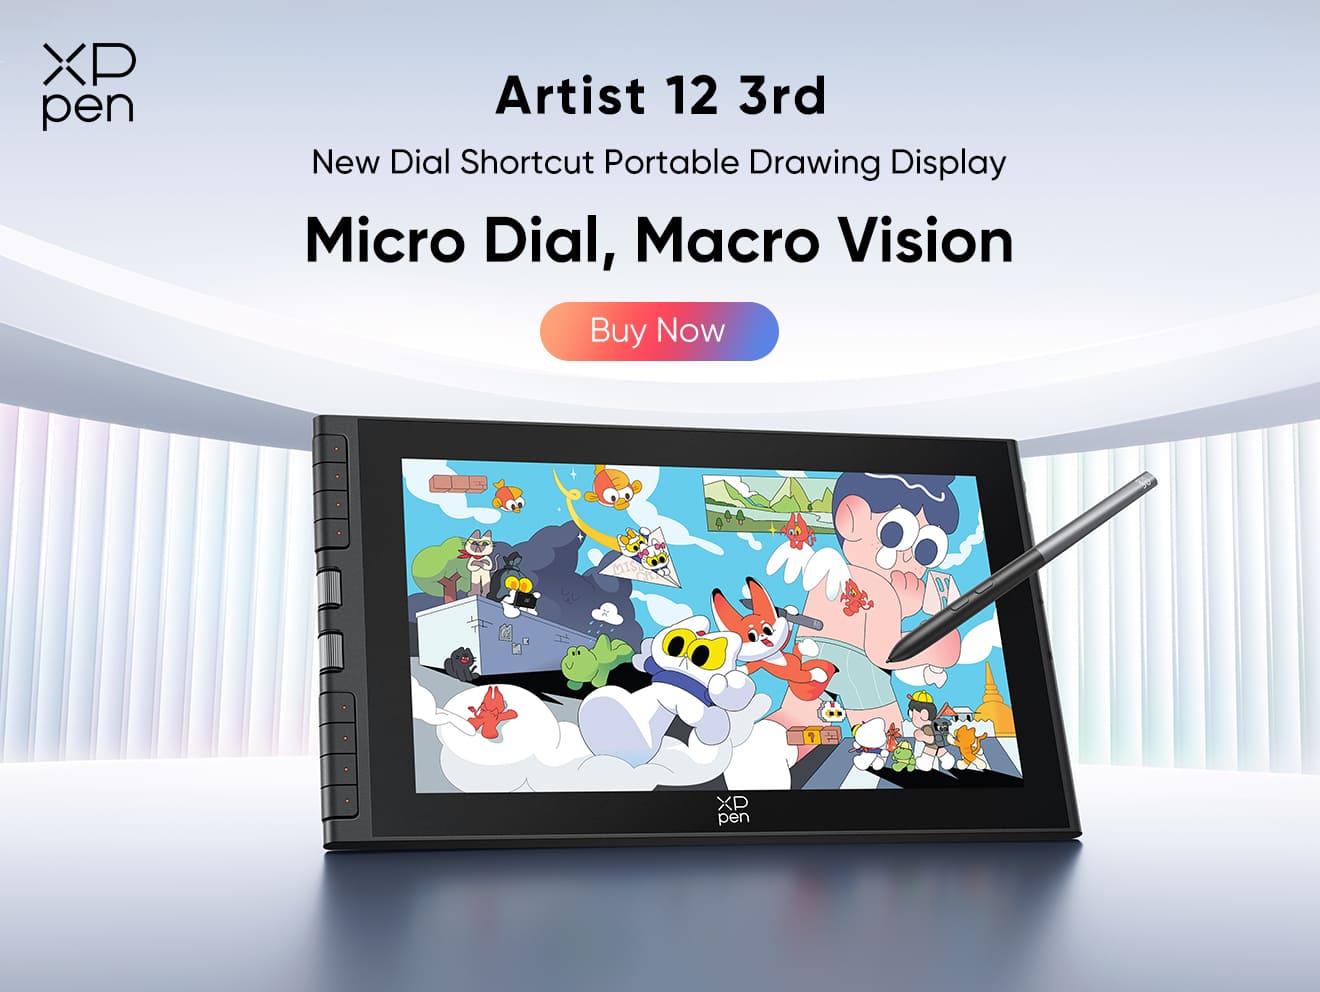


Want to elevate your drawing skills?
Discover step-by-step tutorials, expert tips, and creative techniques to boost your drawing skills.
